Installing Windows 10 on a new machine
If you’ve just bought a new PC without Windows 10 already installed, and you’ve bought the OS separately, then you must install it yourself.
WARNING!
This guide describes how you can install Windows 10 Home on a new machine using an empty hard disk. If you’re not sure whether the disk is completely blank, DO NOT continue with this process. Otherwise, you might risk losing useful files.
Now let’s begin. Put your DVD or USB disk into your computer, and turn on your PC. Most of the times, the computer will recognize your disk automatically and prompt you to press a button to begin the installation process. If this doesn’t happen, change the boot sequence by putting the device with the disk first of every other one, and make sure you’re using the correct disk (the one with Windows 10).
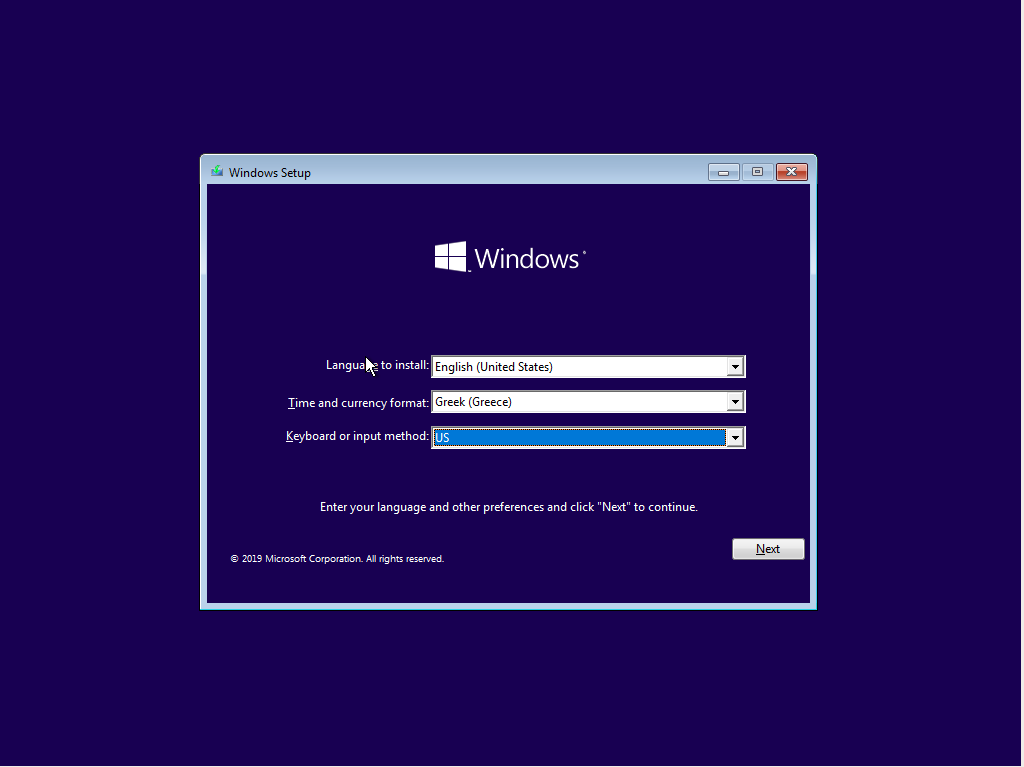
After pressing any key, you’ll see the first installation screen. Select a suitable language from the drop-down menu, which will serve as the language of every menu, text or prompt in your Windows 10 OS. Subsequently, select your preferred time format and the type of keyboard layout you have. Having done so, press “Next”.
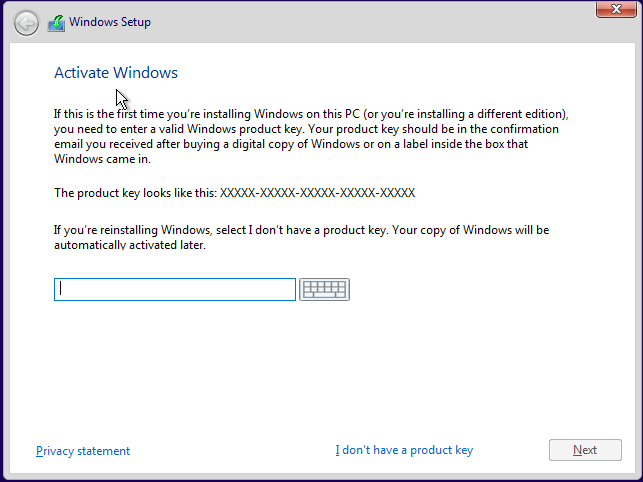
This is the time to update the product key. Fill the designated box and press “Next”.
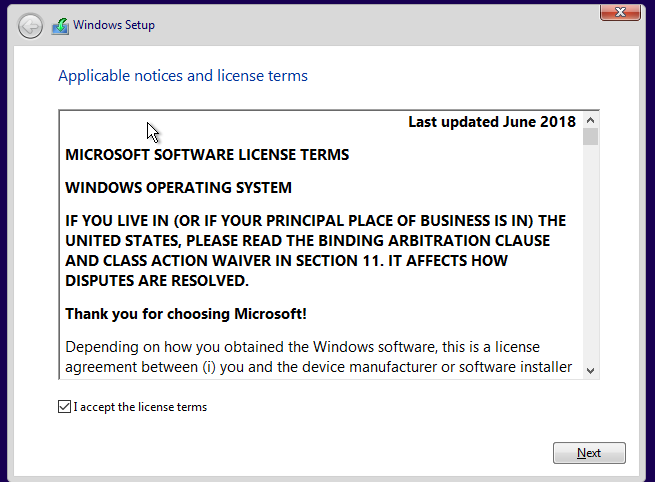
You’ll see a button that says “Install Now”. Press it. The license agreement will be visible on screen. Once you’ve read it carefully, check the “I accept the license terms” option and click on “Next”.
In this screen, you’ve to choose whether you upgrade from the previous installation or not. This is a brand new installation, so press “Custom”.

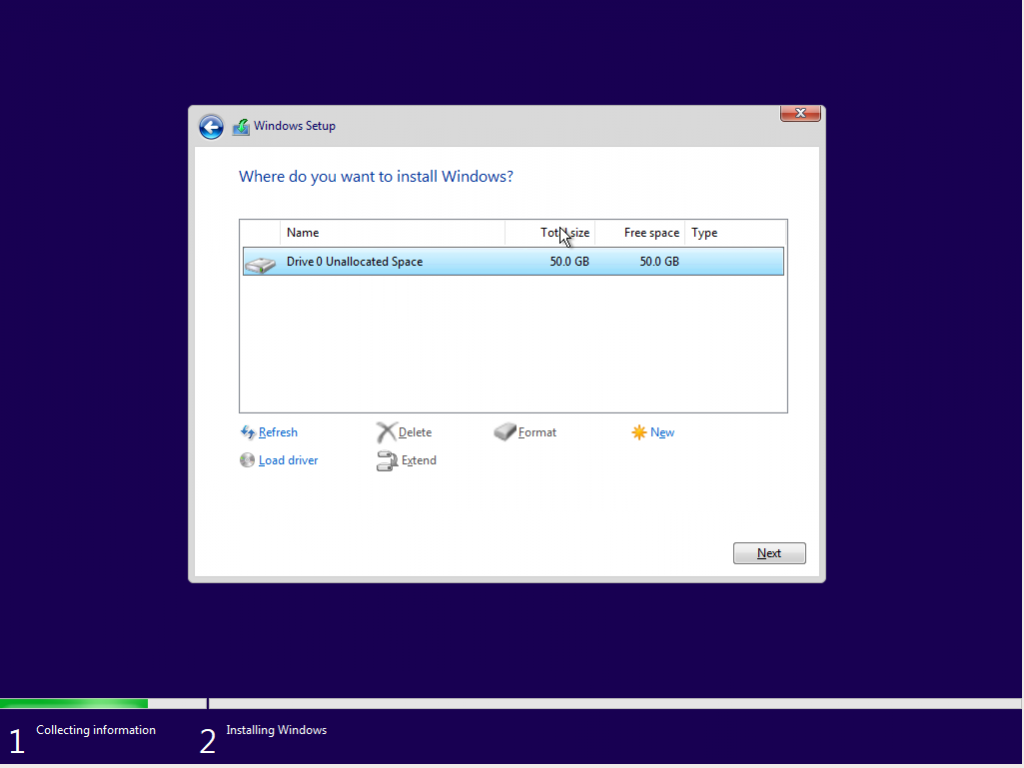
Now, you’ll be able to see your empty hard disk. If you’ve more than one, all disks will appear. Select the disk wherein you want the Windows to be installed. Be extremely careful to ensure that you designate the correct one. Then press the “New” option. You’ve to decide the size of the Windows partition. By default, the full disk’s size is selected. If you don’t want more than one partition, leave the size number as is and press “Apply”. Two partitions will be created. The first one is labeled as “System Reserved”, whereas the second is the one for the OS. Don’t worry; this is completely normal. Just press “Next”.
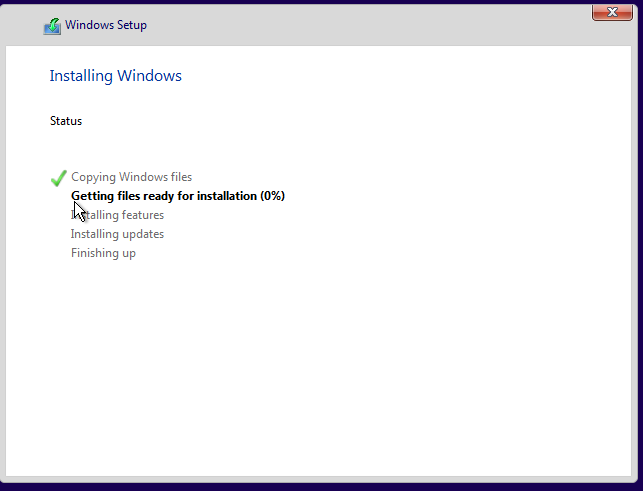
Once you’ve done that, the installation process begins. Just wait to finish all the steps.
Let Windows reboot. Don’t press any button.
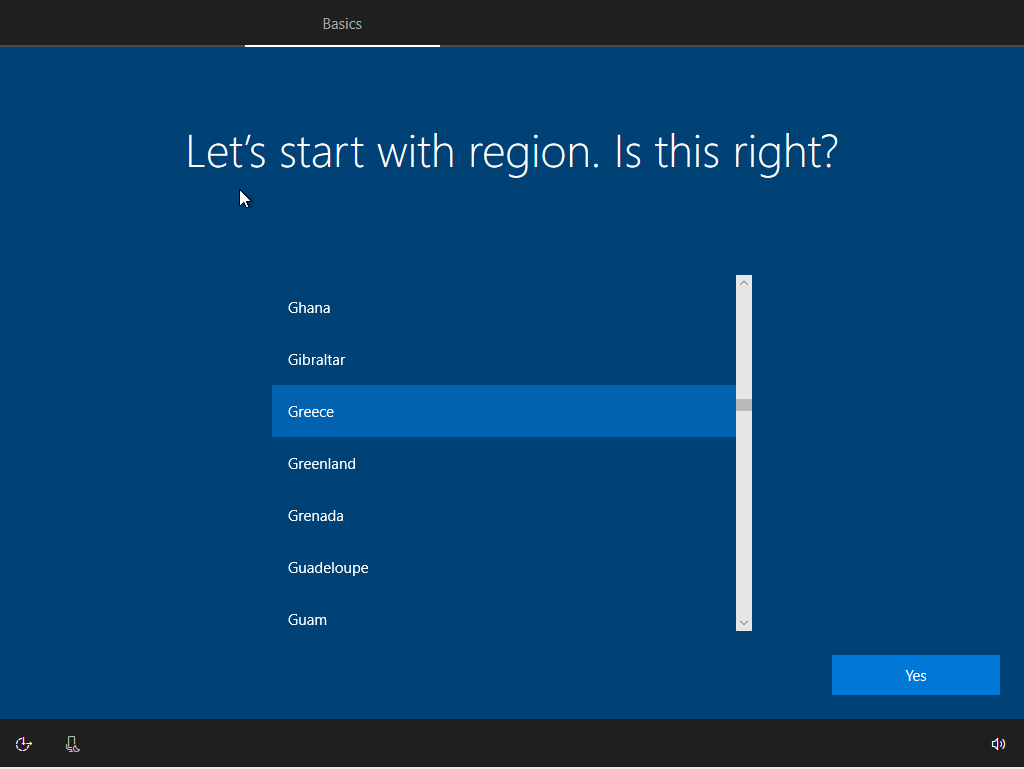
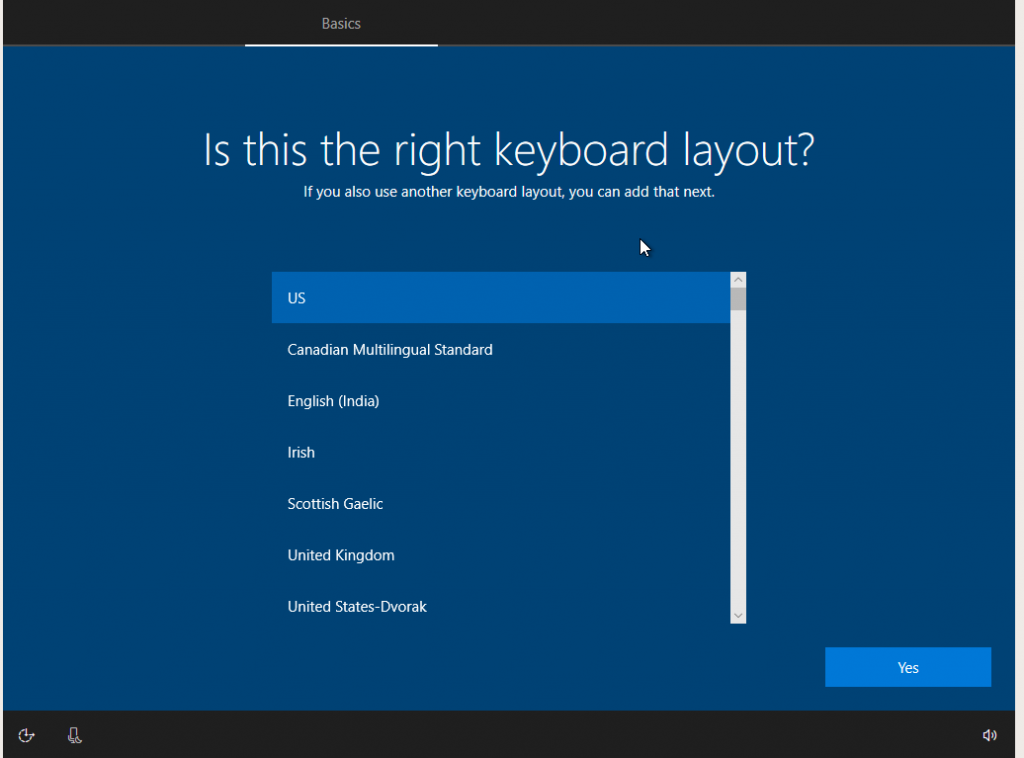
Now, it’s time for the basic configuration. You’ve to confirm your region and keyboard layout once again.
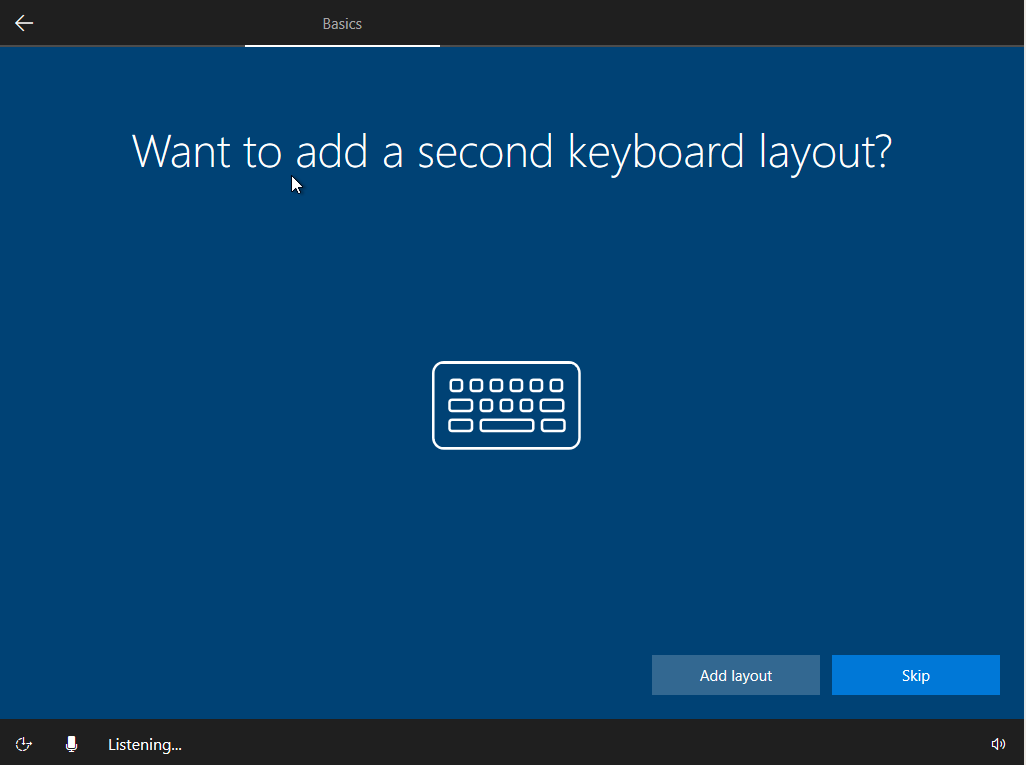
Afterward, the OS will ask you if you want to use a second language. You might want to type something in a different language from your default one. If you do so, press “Add layout”. Otherwise, click on “Skip”.
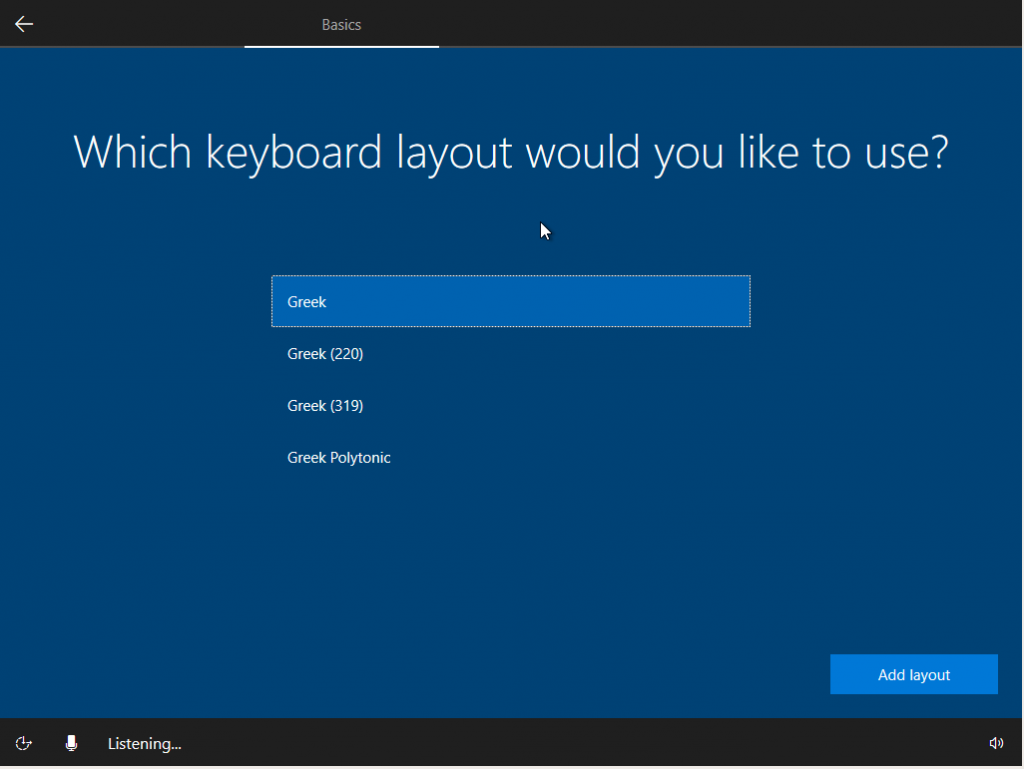
In order to select your second language, press “Next”, choose your keyboard layout, and press “Add layout”.
Wait for a bit while Windows reboots again.
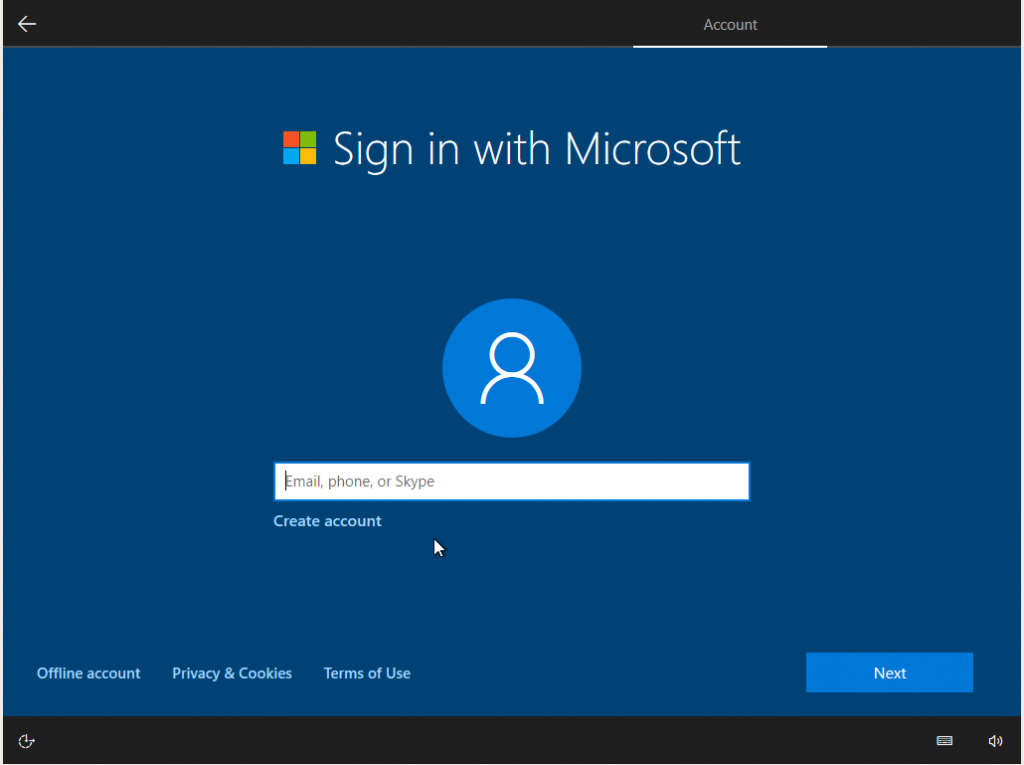
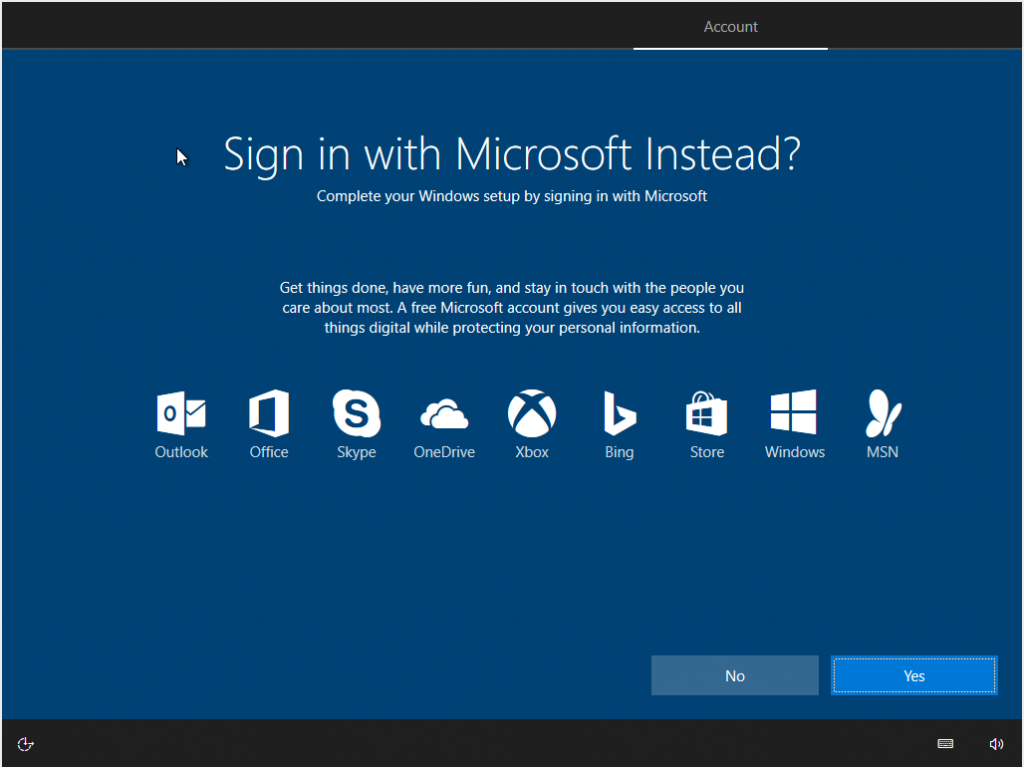
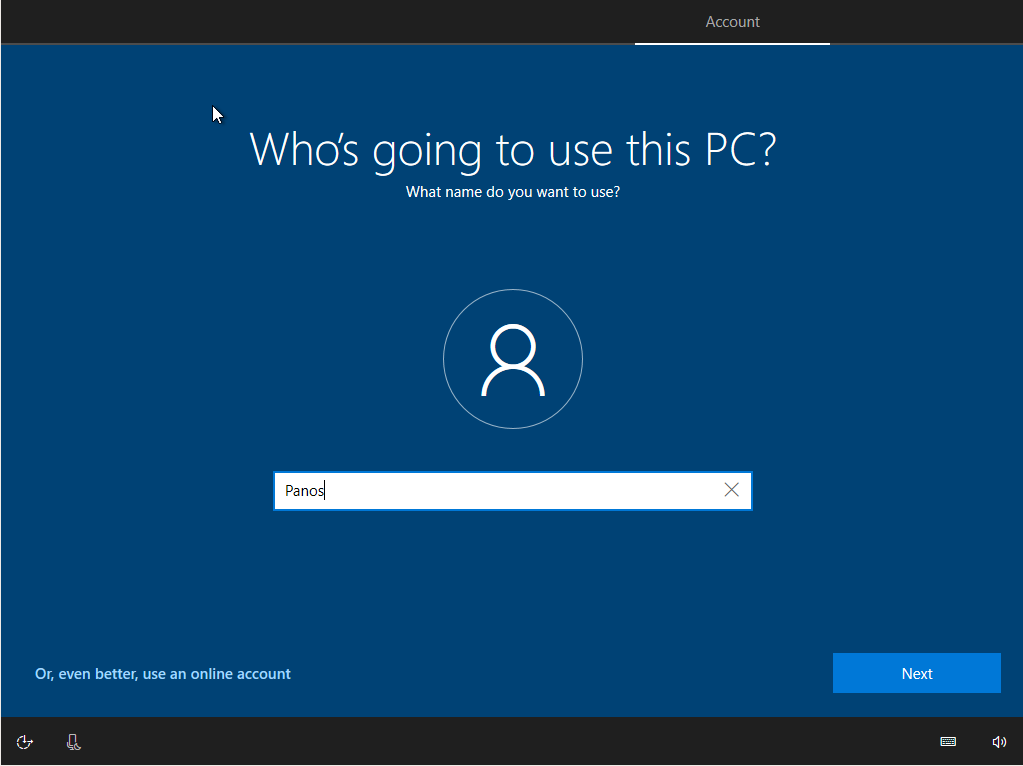
Once you’ve completed this step, you’ve to create a user account. I’ll chose an offline account for now, but feel free to use your Skype or personal email account if you want. Subsequently, press “No”.
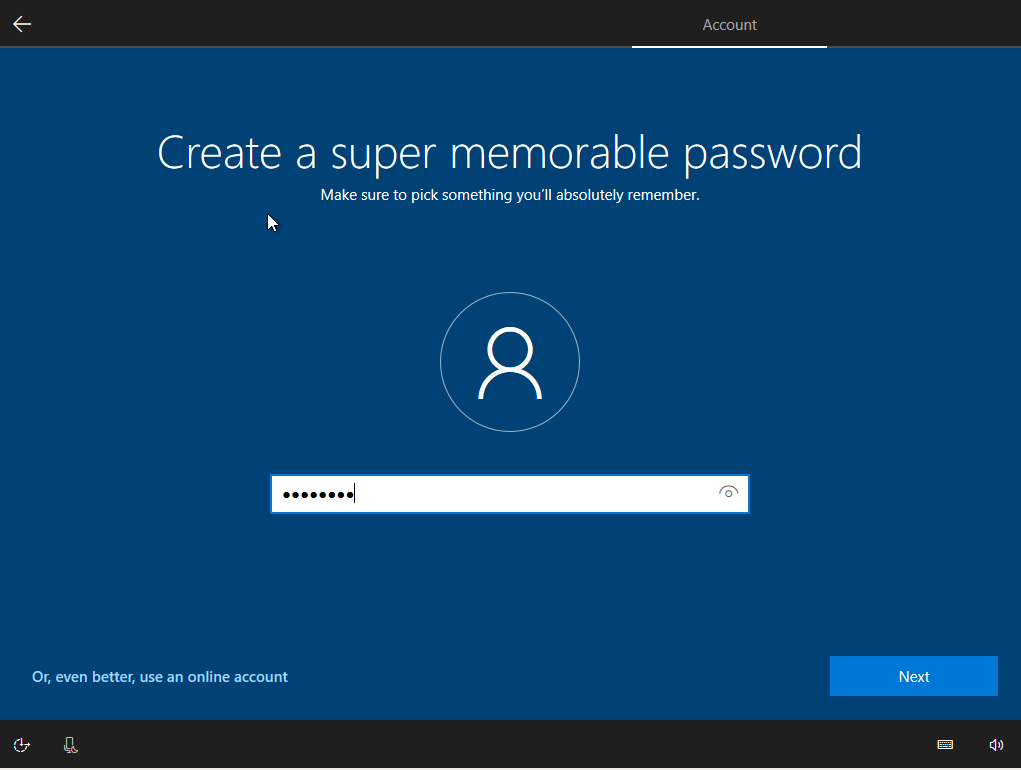
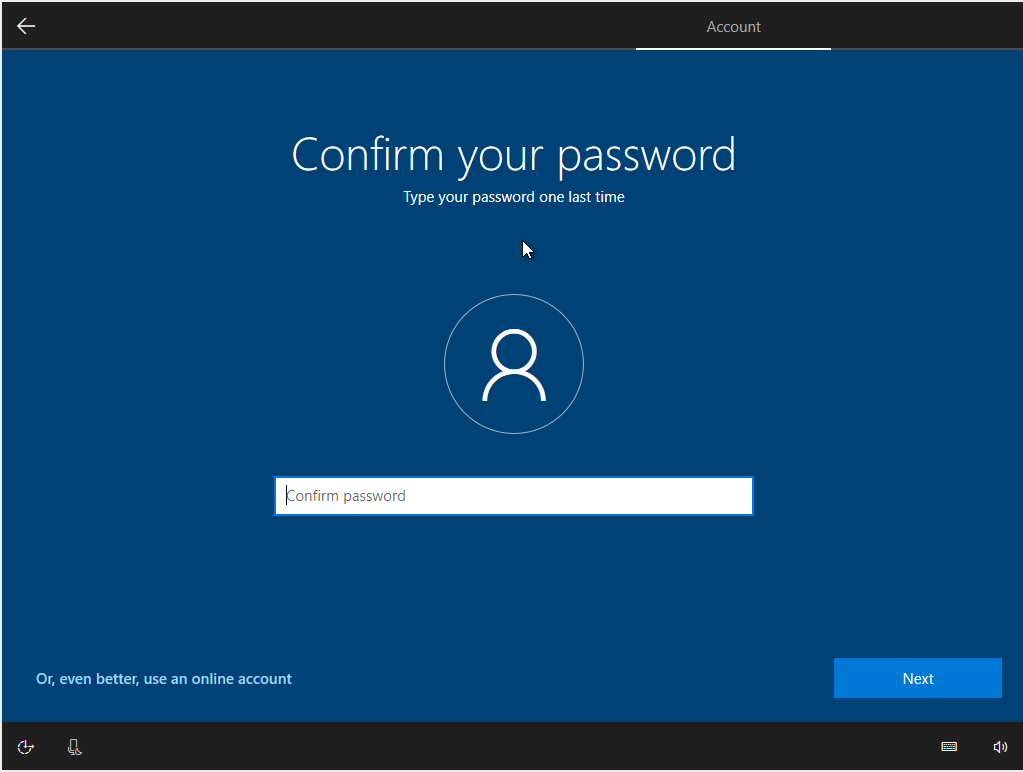
Type a username, followed by a strong password, and retype the same to confirm it.
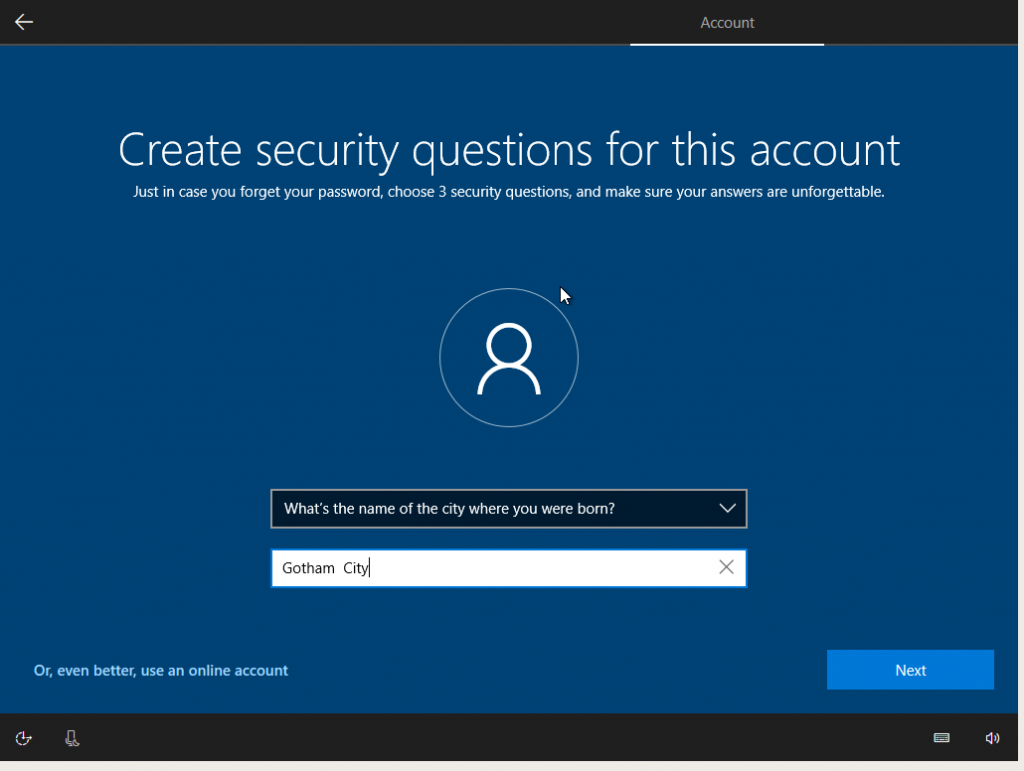
Create three pairs of security questions and answers in case you forget your password.
Now, select all the configuration options according to your personal preferences. Microsoft explains what every option’s impact will be.
Once you’ve have done, you’re ready to use your new PC. Enjoy!