How to use Todo Backup Free to replicate your files and avoid data loss
Every person has from several to thousands of files on their computer or mobile devices. Under normal circumstances, you can use these files for as long as you need them. But sometimes, things can go wrong. Accidental deletion, hard disk failure, a malware or virus infection: your files are in constant risk.
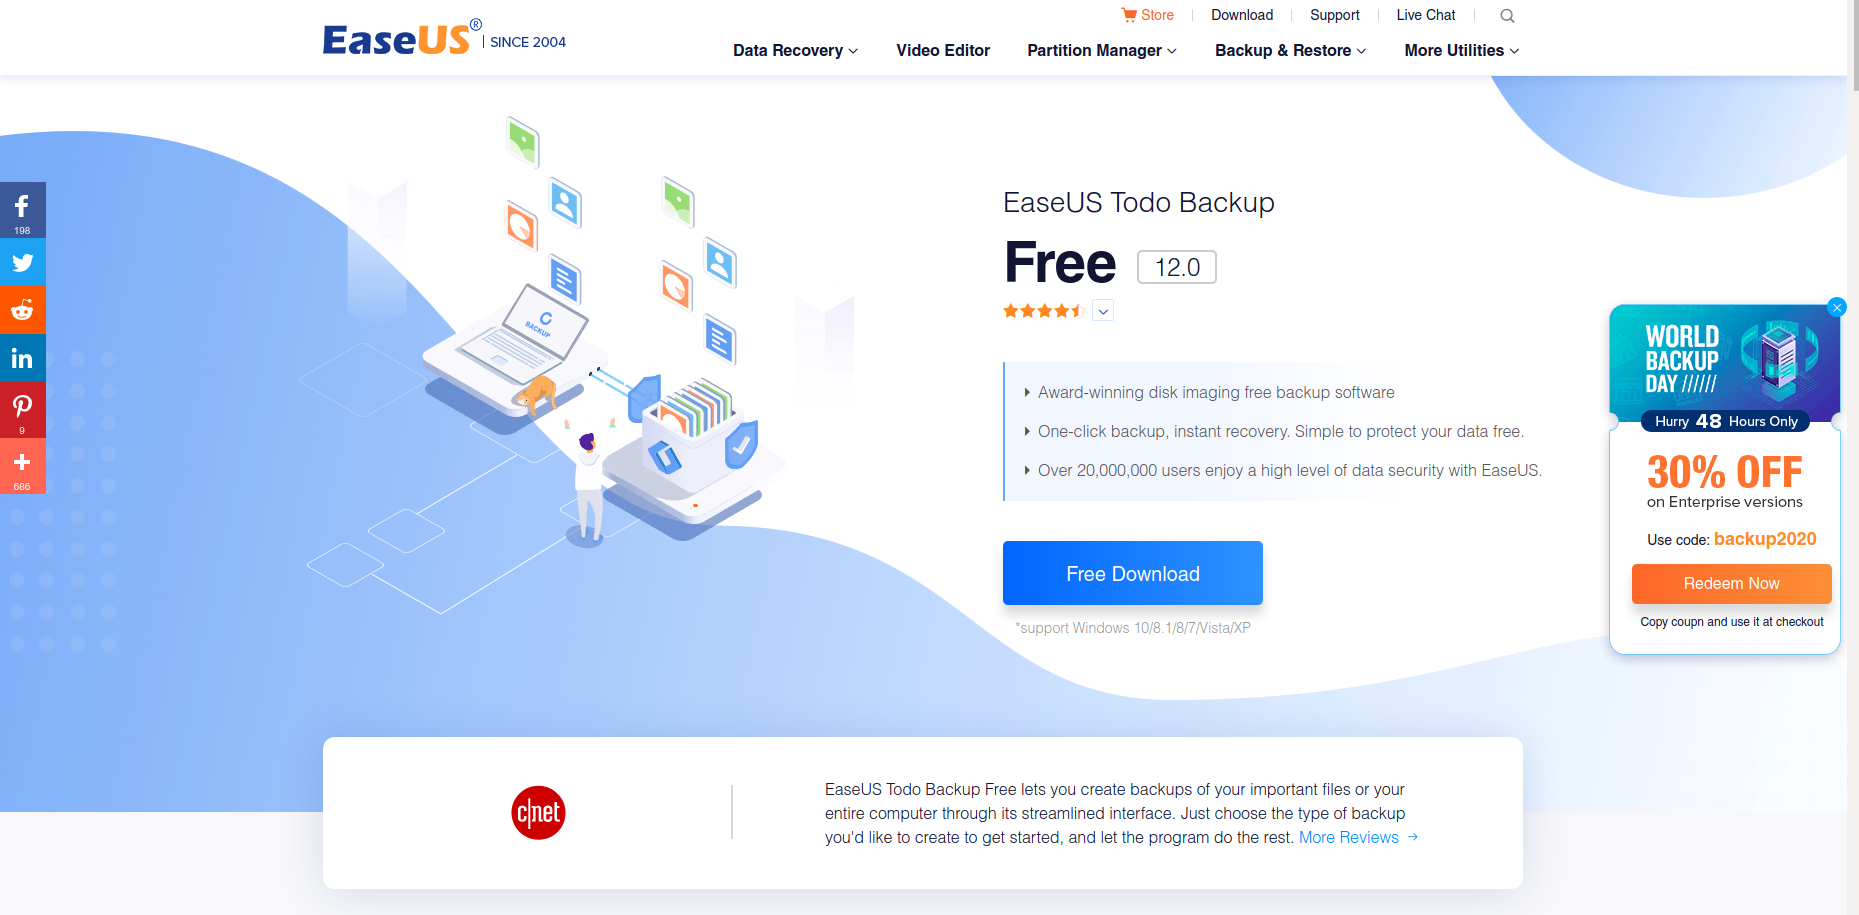
Backup software can help to avoid the loss of your data. In this article, I will show you how you can use Todo Backup Free 12.0 to create a copy of your files to an external hard disk. You can download it from EaseUS site (https://www.easeus.com/backup-software/tb-free.html).
Now, first things first. There are three methods of data backup:
Full Backup
As the name implies, this method creates a full copy of all the data you have selected for replication.
Differential backup
In this method, only the data that changed since the previous full backup are included, not all of them. You need this previous full backup to restore a differential backup.
Incremental backup
In this last method, only the data that have changed since the previous backup (full, differential or incremental) are included. For this, you need the previous full backup and all the consecutive backups up until the incremental backup you want to restore.
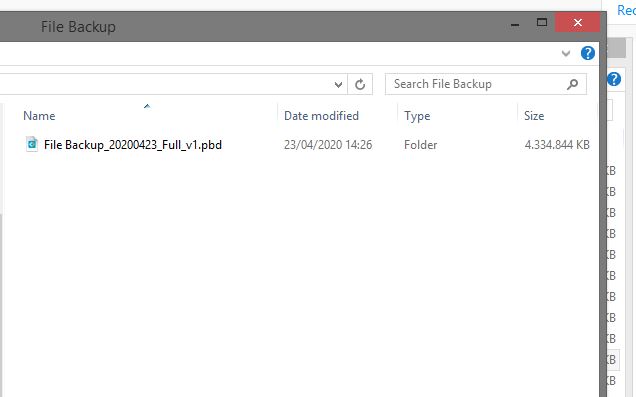
One other thing I would like to mention is that Todo, like most backup software, creates a dataset: a single file that includes all of your folders and files and can be compressed (to save storage space) and/or encrypted to secure your data.
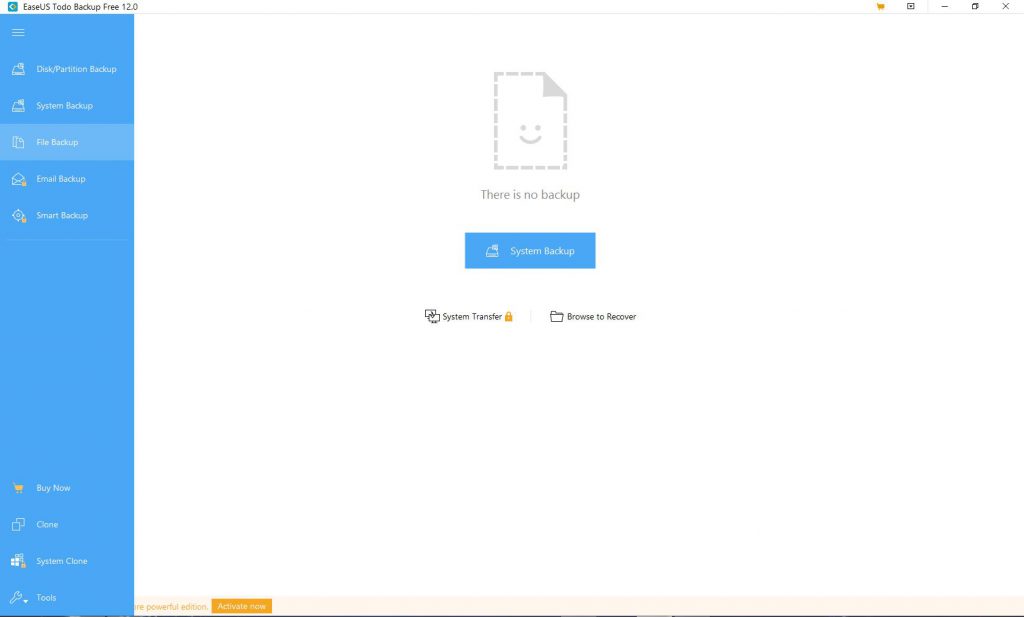
Let’s go to Todo Backup. After you install the software, run it and you will see the main screen. In the top left corner, you will see three horizontal bars (hamburger menu). Click it and on the right of every menu icon, you will see its description.

Click on “File Backup” icon. A new window will appear with several options for you to select and customize according to your needs and personal preferences.
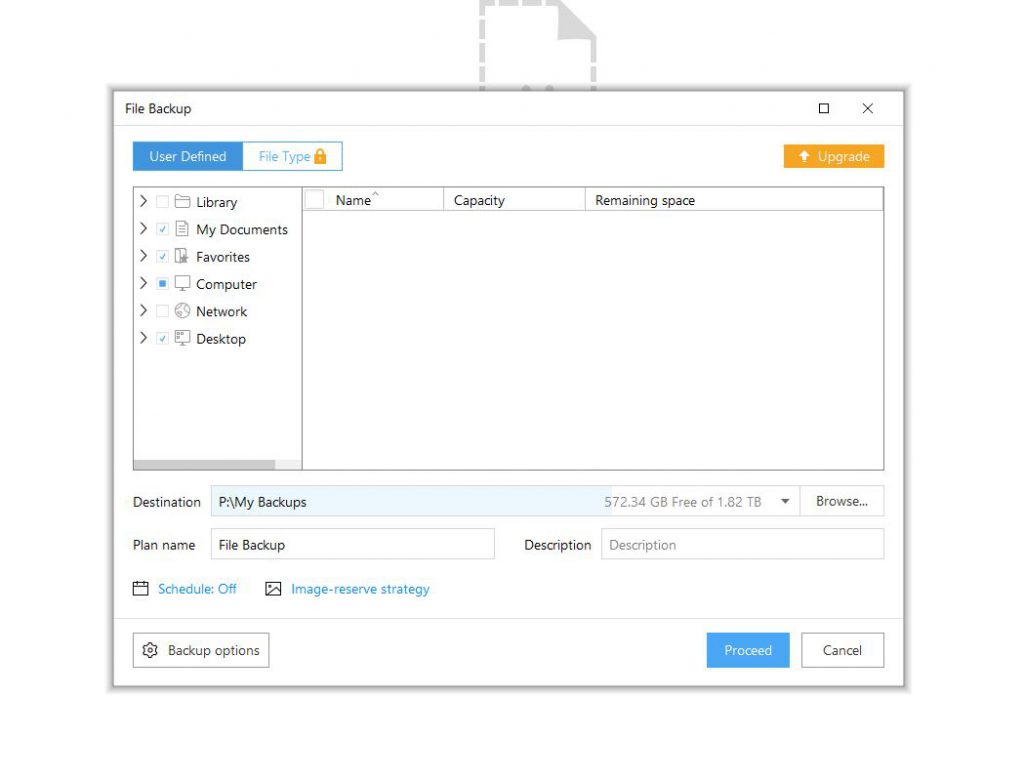
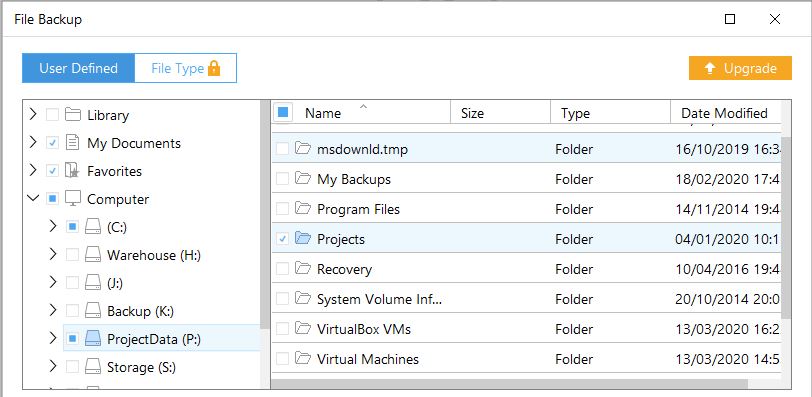
The top part of the window is a hierarchical structure of your disk drives, folders and files. This is where your original data reside. Select the folders and files you wish to copy. In this example, I have chosen the folder “Projects” from drive “P:”.
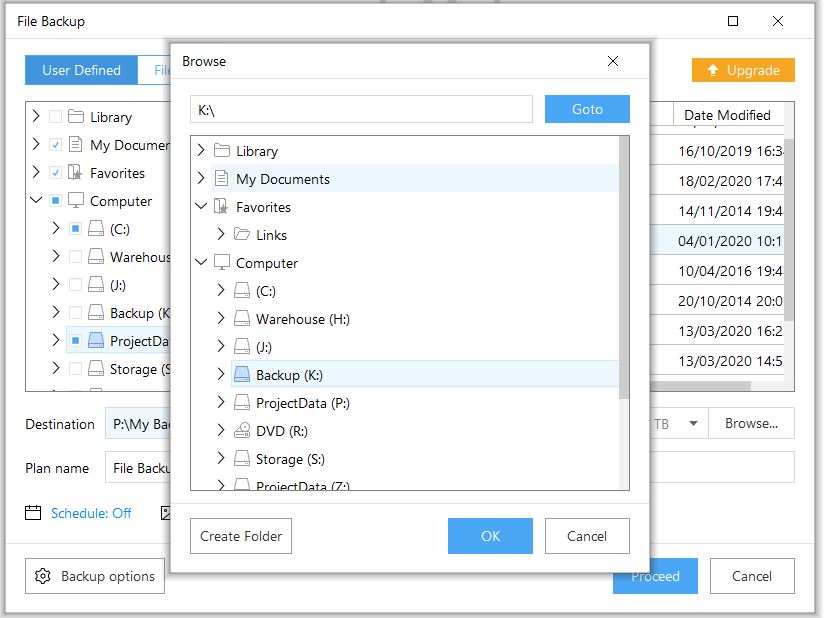
Now, at the bottom part of the window, you have to choose the destination of your files. Press the “Browse” button in the right of the “Destination” field and a new window will open. Select your destination drive/folder and press “OK”. I have chosen (external) drive “K:” and the “Backups” folder.
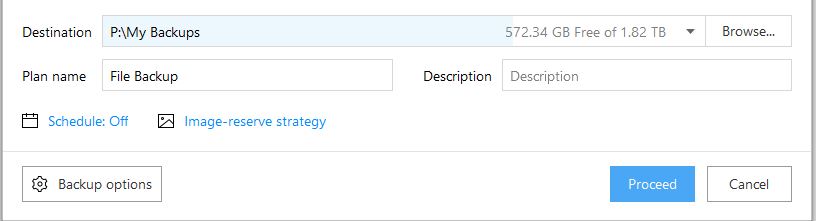
You have the option to schedule backups on a regular basis. Click on the blue link “Schedule” in the bottom left corner of the window just above the button “Backup options”. A new window will open. You can select here if you want daily/weekly or monthly backup, the specific days, the time and also the three backup methods I mentioned above. When you are satisfied with your choices, press “Save” and the window will close.

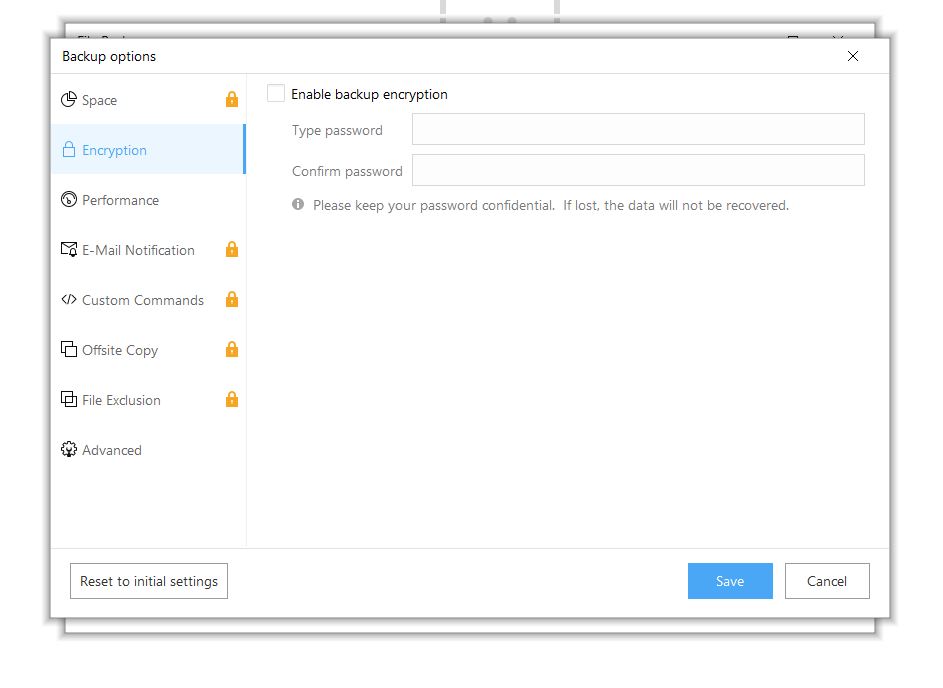
If you press “Backup options”, a new window will open. Most of the options are disabled for the free version but you can use the encryption feature to protect the dataset from unauthorized access. If you make changes, press “Save”, otherwise “Cancel”.
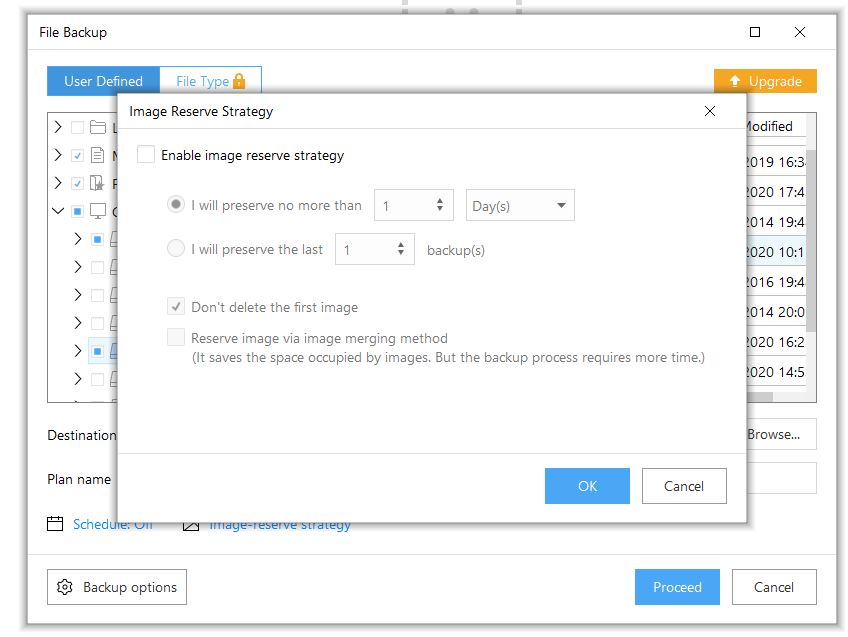
For now, don’t use the image reserve strategy automation. You can read about this feature on the EaseUS site (https://www.easeus.com/support/todo-backup/image-reserve-strategy.html).
Press the “Proceed” button and the backup process will begin. When it is over, the dataset will be at the designated destination. You can restore a backup either from the button “Recovery” of a specific backup plan or from the “Browse to Recover” button in the top right corner of the main window.