How to automate personalized document creation using Word and Excel

So, you have to send a document to many people containing data with different values for every individual recipient (an invoice for example).
Traditionally, you would have to manually create documents for each recipient. If the number of recipients is a hundred or more, this task could be frustrating.
Modern word processing applications like MS Word support a functionality called mail merge, which makes the above process easier to complete.
Word supports several data sources (the database or file where data reside) but the most common one is MS Excel.
Let’s see how we can use both programs to create those documents.
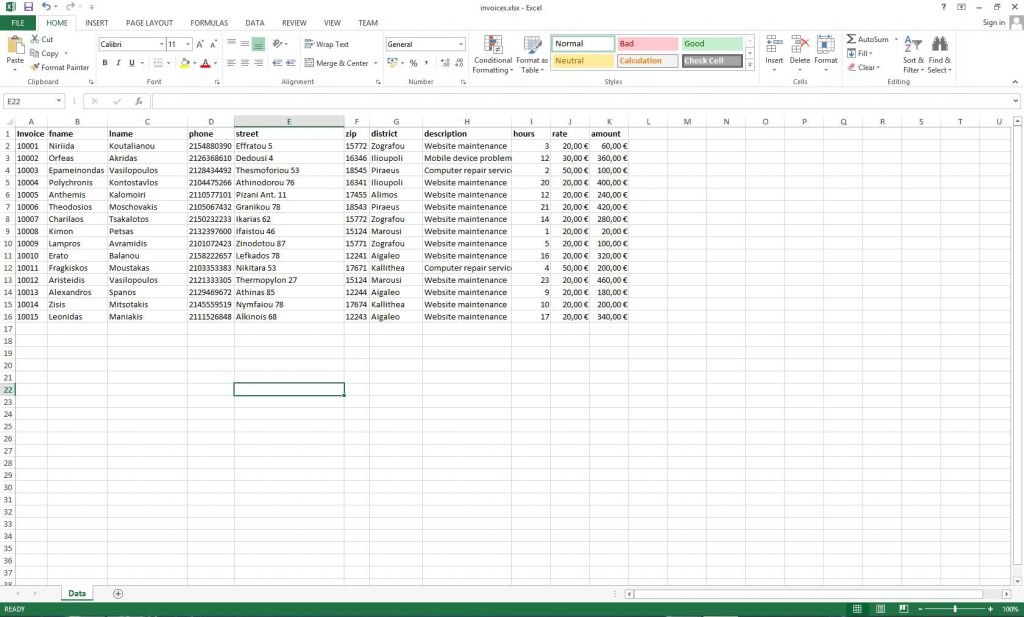
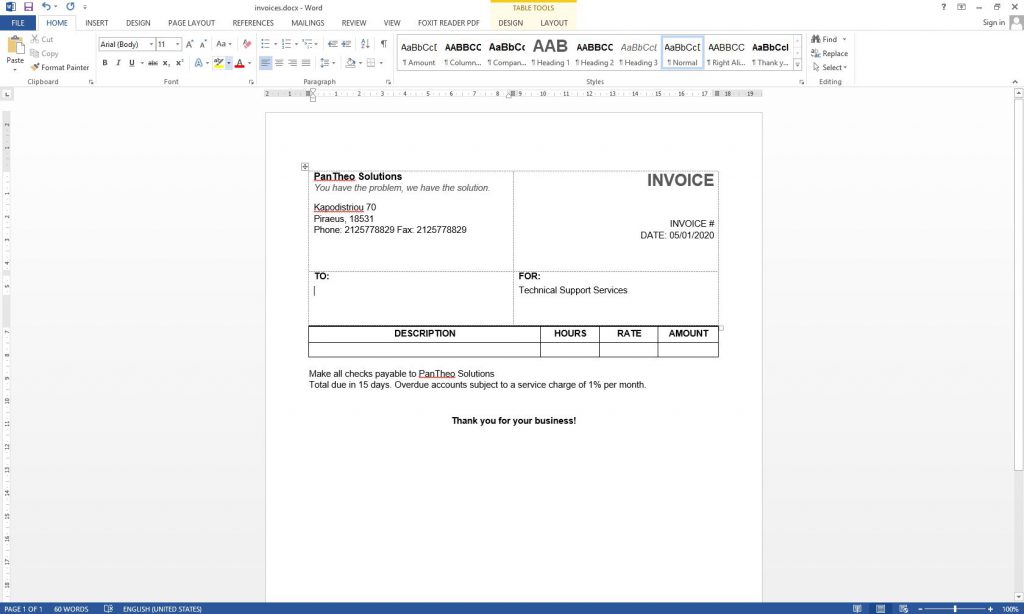
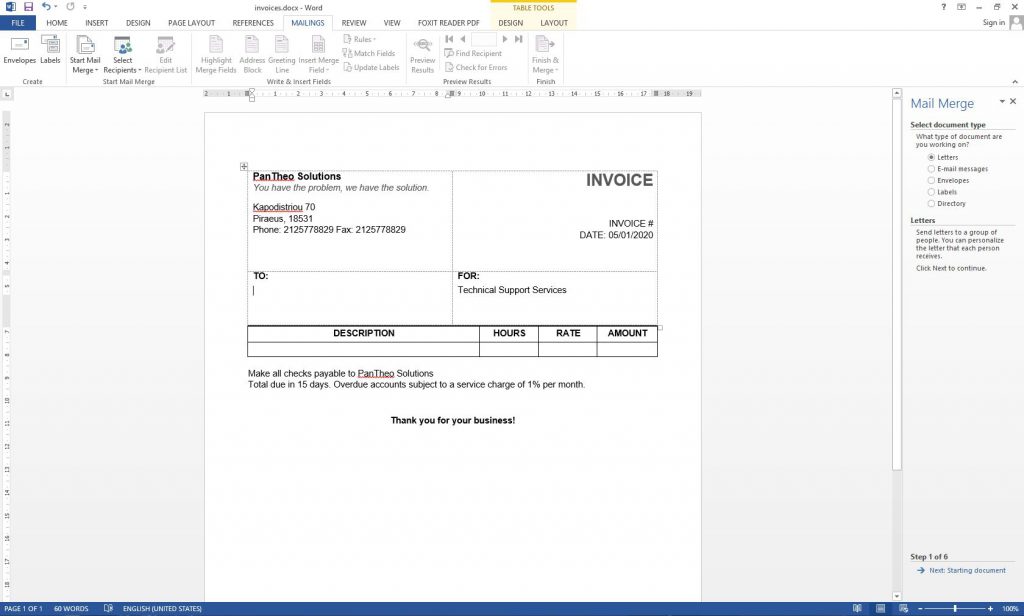
Now, we have an Excel file with different data of sixteen customers, and we want to send them an invoice. We also have a Word document with our invoice template.
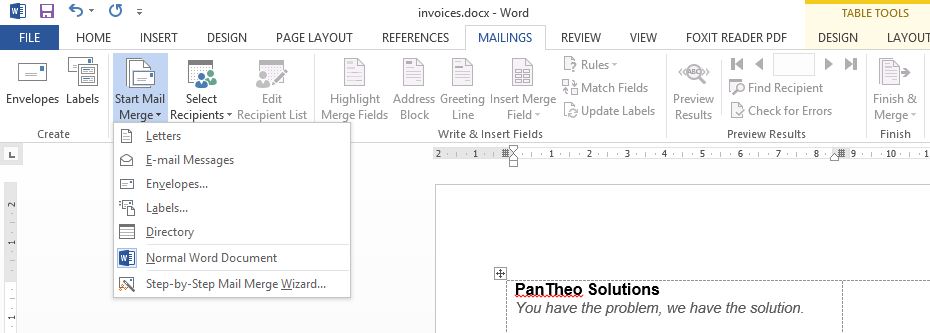
On the ribbon, we click on “MAILINGS” and then the “Start Mail Merge” button.

Select “Step-By-Step Mail Merge Wizard”. Just press “next” in the first two steps of mail merge.
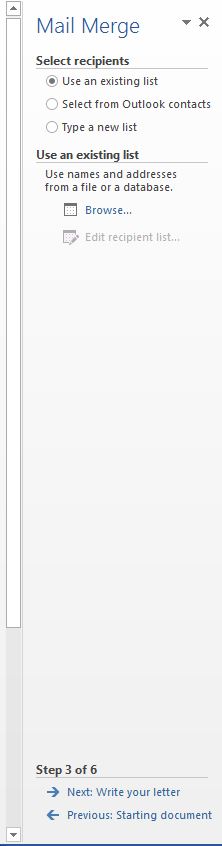
In the third step, press “Browse” under “Use an existing list”. A window opens. Find and select the Excel file with the data.
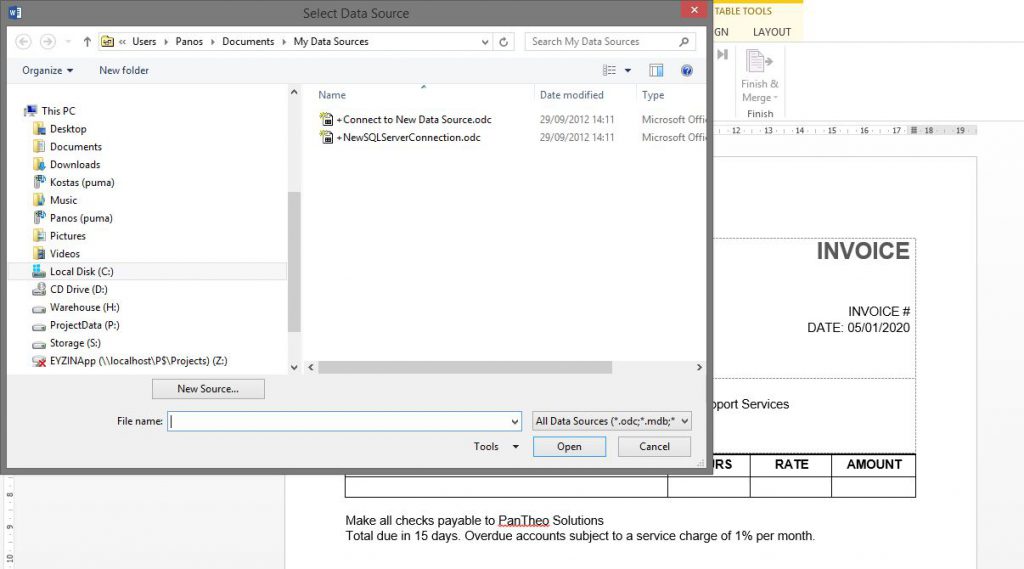
A window will open, and you have to choose the spreadsheet which contains the data. If you have only one, then press “OK”.
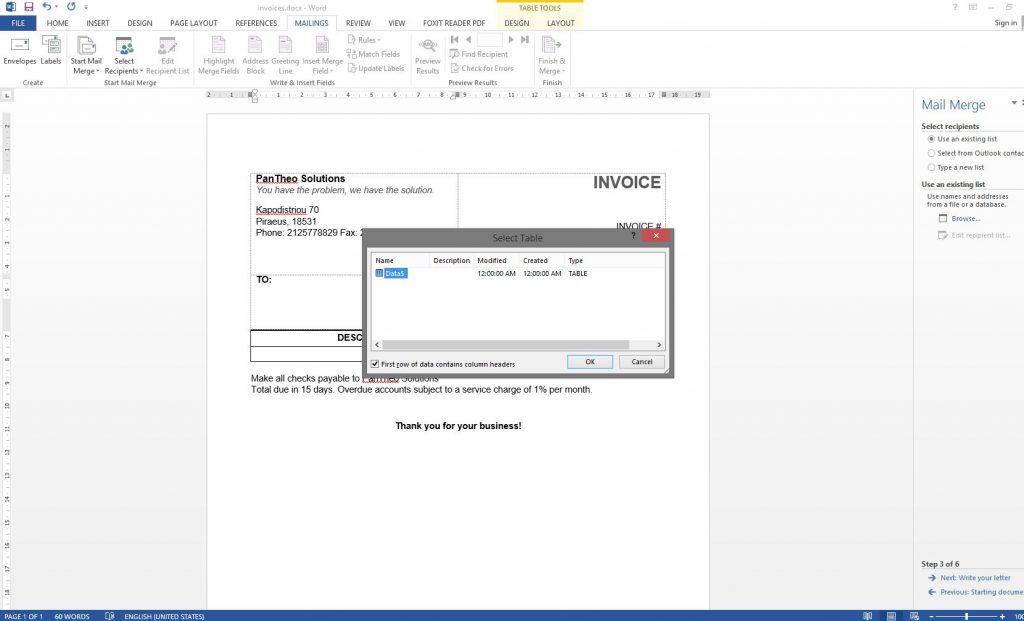
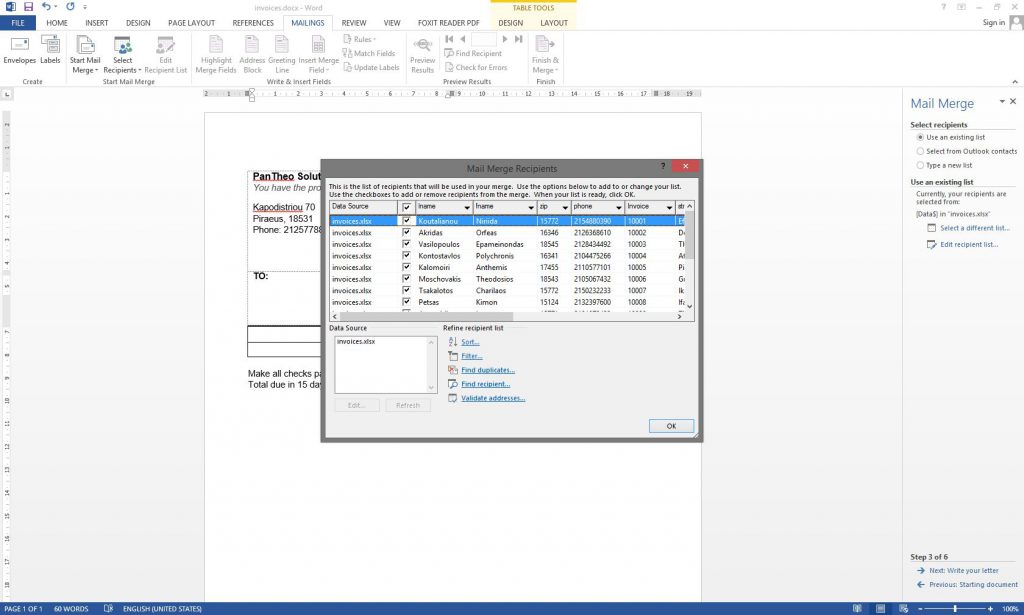
A new window with fields and data from Excel will appear. Press “OK”.
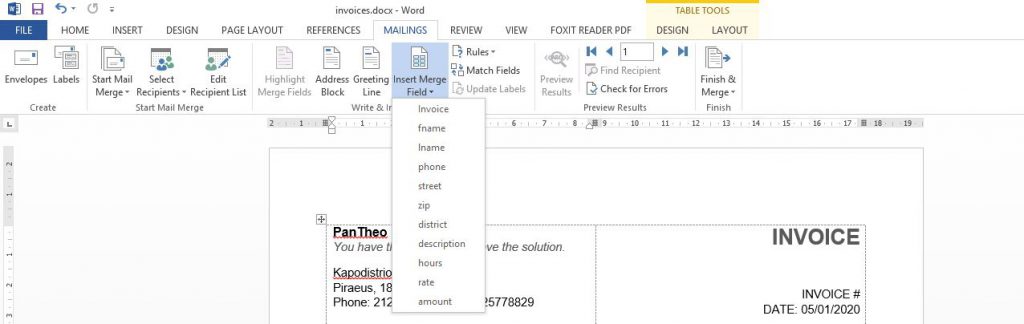
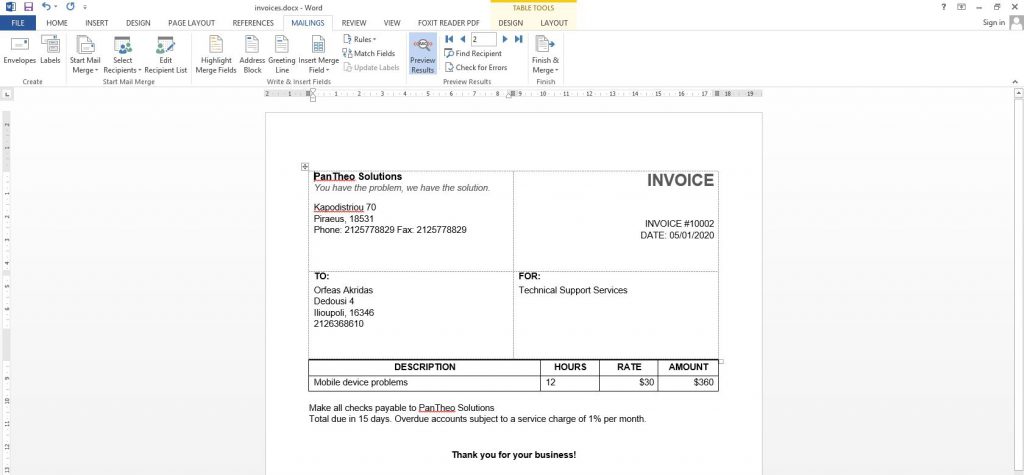
Now is the time to insert the fields to your document in their respective positions. Put the cursor to the first position and then press “Insert Merge Field” and select the corresponding field. Repeat the process until all fields are in place.
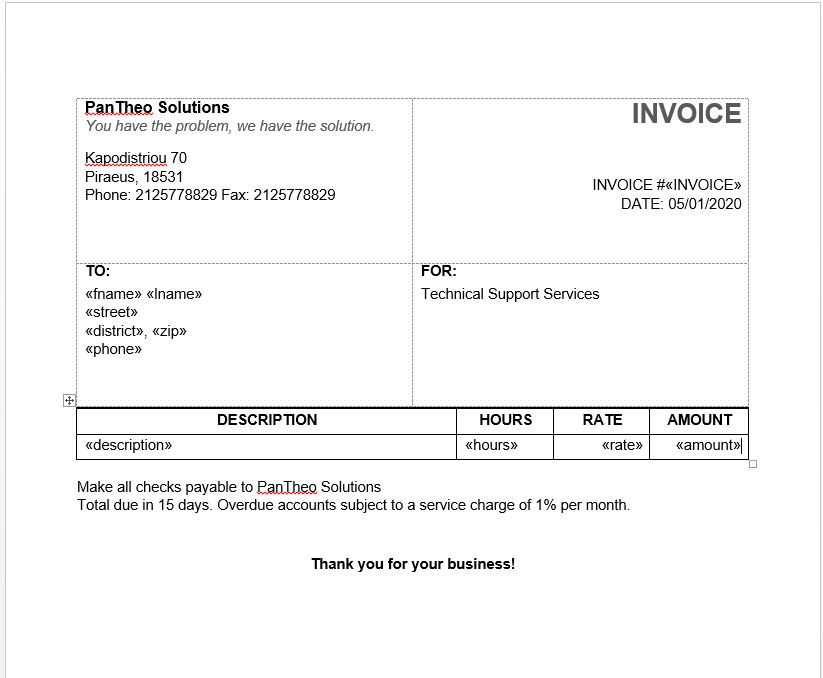
You can press the “Preview Results” button and then the left or the right arrow on it’s right to see the data of the invoice changing and showing information about the respective recipient.

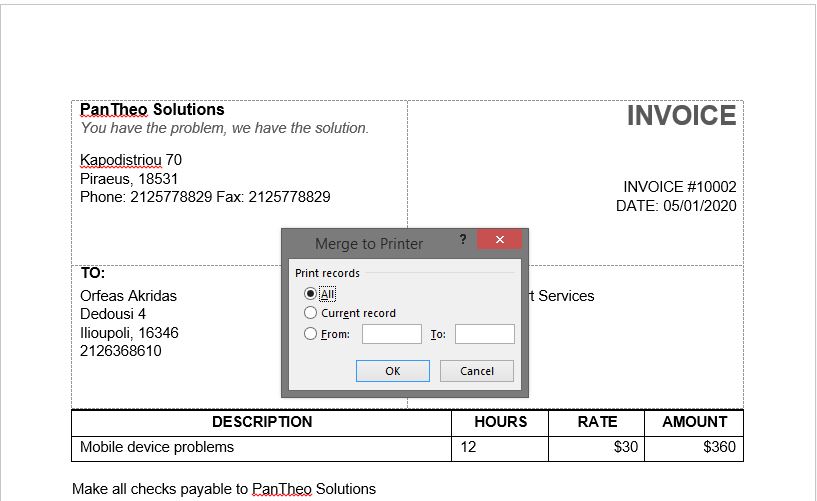
Now the final step is to press the “Finish & Merge” button and select “Print Documents”. Then, must choose the records that are to be printed (all, current record or from to a record). Select them and press “OK”. Now, select your printing preferences and then press “OK” again. The documents will begin to print.

If you want to send the documents via email, you must have a field with everyone’s email in the Excel file. Then when you press “Finish & Merge”, as we saw earlier, select “Send Email Messages” instead of “Print Documents”. You will then have to choose the email field and which records are to be printed. When you hit “OK”, your default email client will open to send your documents.
Mail merge is a very useful functionality and you should use it whenever necessary.