Beginning Databases Vol. 1 (Part B)
To view the first part of this article, click here.
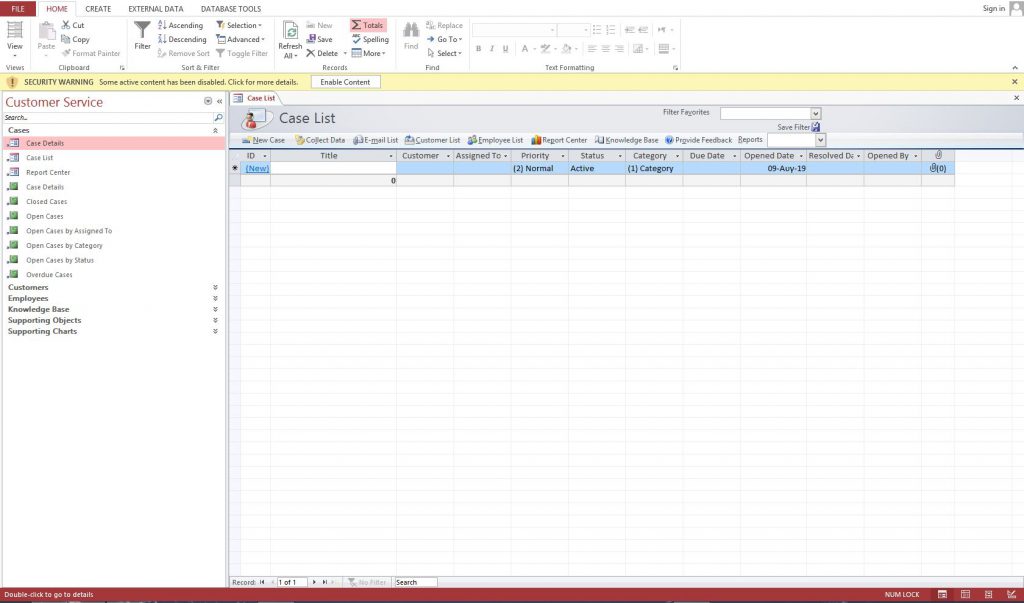
So let’s delve into MS Access and learn the basics. Run the program and then go to “New” and click the template “Customer Service” (first row, third template). From the window that will open, you can choose the name of your database and the location where it will be saved. When you are done, press “Create.”
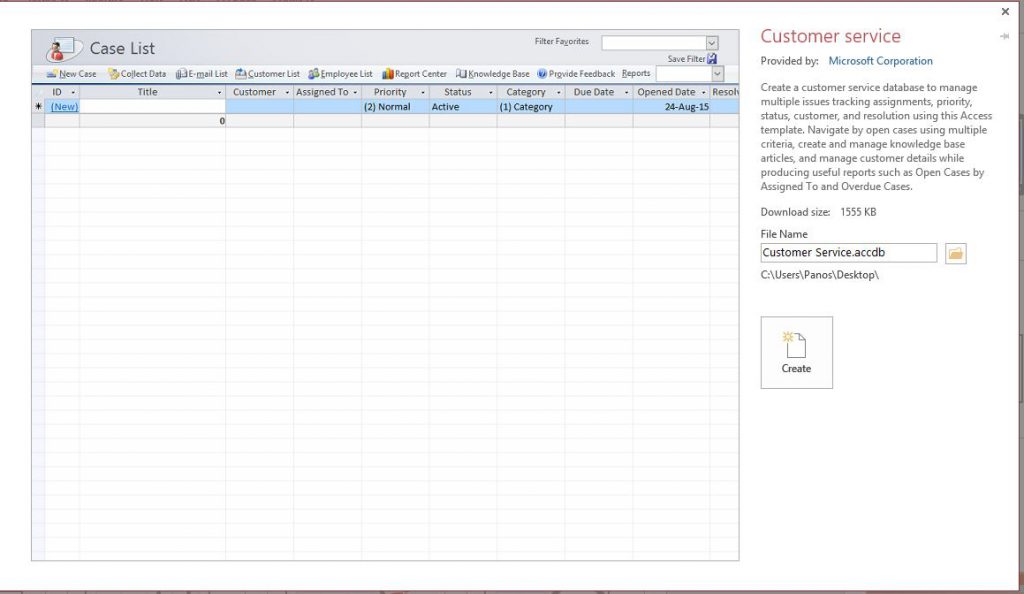
Now, we are in our new customer service database. If you see a warning about disabled content, press the button “Enable Content.”
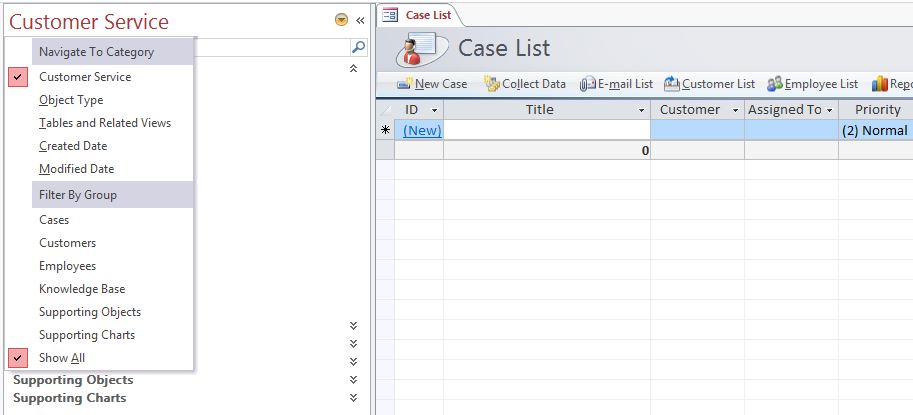
Click on the down arrow to the right of the name of your database and select “Object type.” All objects of the databases are displayed, sorted by object type.
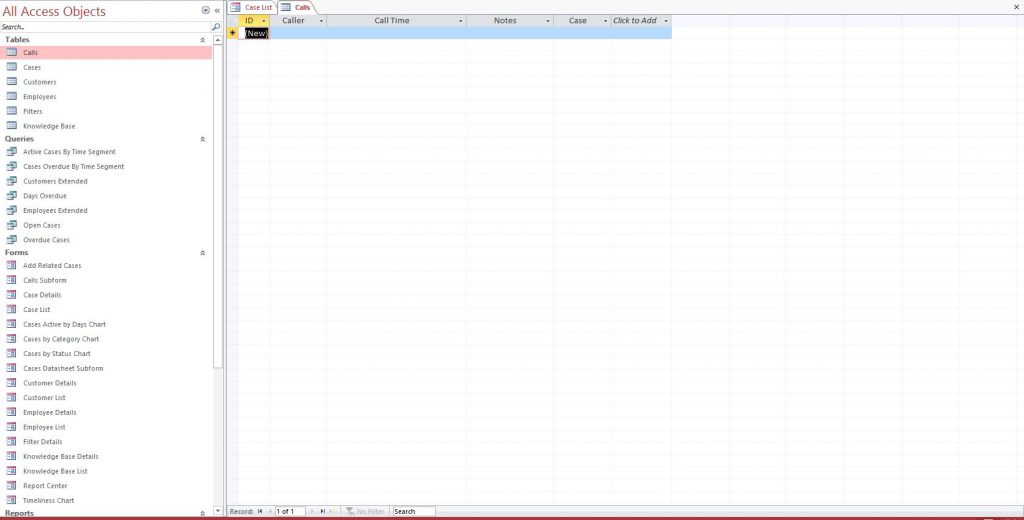
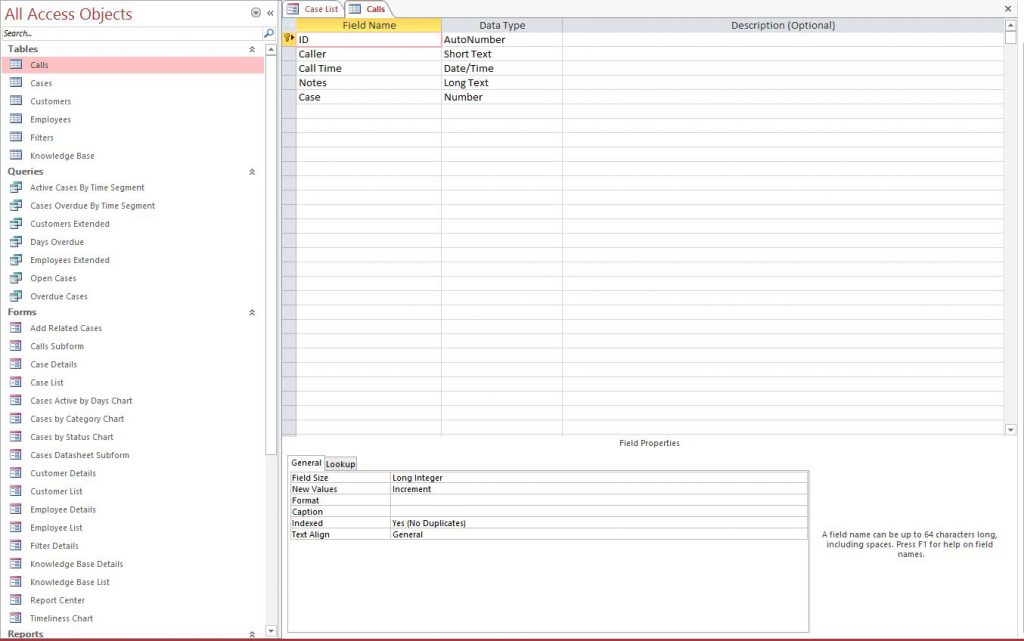
There are six tables in this database. Double click in the first one (Calls). This table has 5 fields (columns) and no records (rows). This is because it is a brand-new database and no actual data has been added to its tables yet.
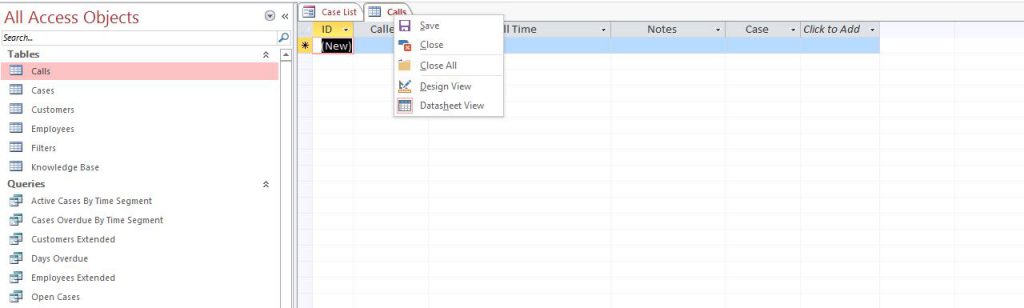
Right now, you are looking at the “Datasheet View” of the table. Right click on the table’s name tab and a menu will appear. Select “Design View.” There are other ways to switch back and forth from the datasheet to design view, but, for now, this will do.
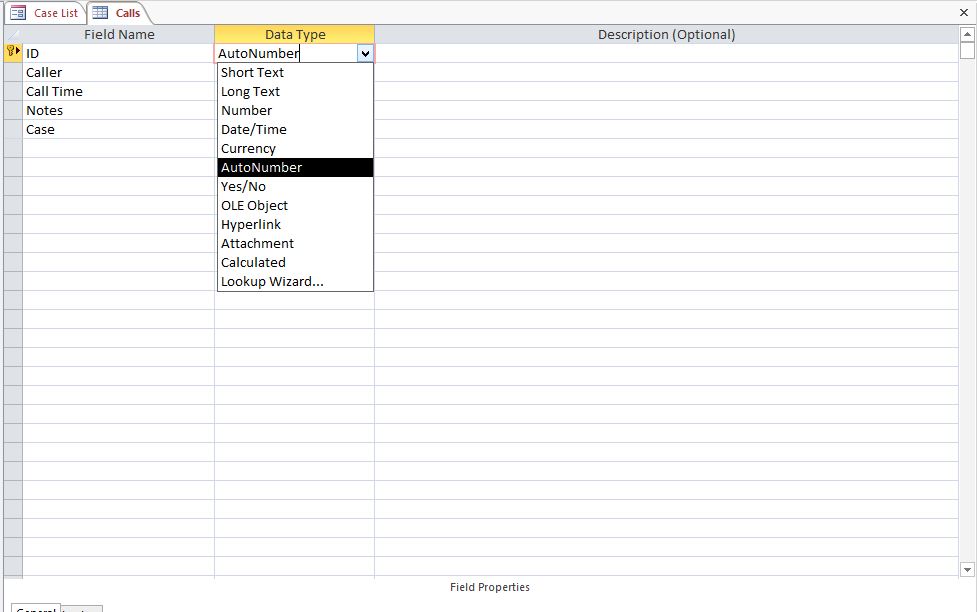
In this window, there will be a list of all table fields (columns) and “Data Type.” Data types determine what kind of data (numeric, text, etc.) each field will be allowed to contain. MS Access supports various types. The most common are numeric (Number, AutoNumber, Currency), text (Short Text, Long Text), date and time (Date/Time) and Boolean (Yes/No). As everything apart from Boolean are pretty much self-explanatory, let’s focus on Boolean. Boolean, or as Access calls it Yes/No, can only have one of two values—Yes (true) or No (false). For example, I have a table with a company’s list of employees, and I want to know if they have children or not. I don’t need the total number of children, just if the employee has kids. For this, I can put a field called “Child” and select “Yes/No” data type.
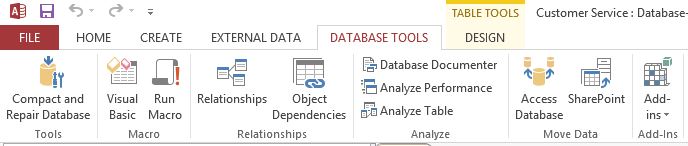
On the ribbon (main menu on the top of program window), click “Database Tools” and then “Relationships.” Here, you can see database tables and their relationships. I will explain more about this window and terms like data integrity, referential integrity, primary and secondary keys, etc., in a later article.

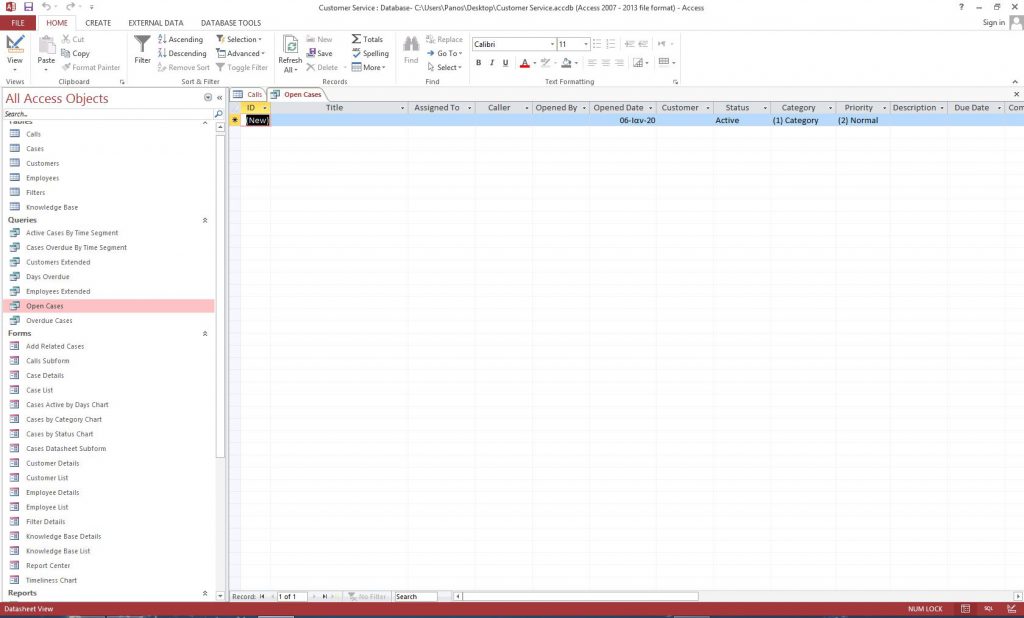
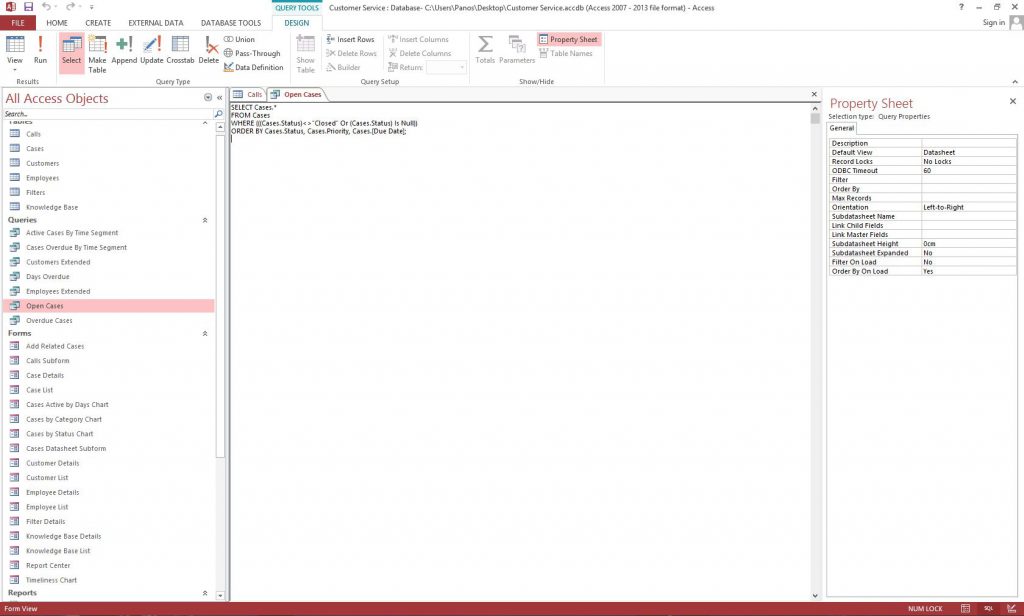
Next, double click on “Open Cases” under “Queries.” Normally, you would see some results, but now the tables are empty, so queries don’t return any records. Right click on the table’s name tab and the familiar menu will appear. Select “Design View.” Here, you can select tables and criteria so you can get only the data you need. If you repeat the previous step and click “SQL View” instead of the “Design View,” you will see the actual SQL command of this query.
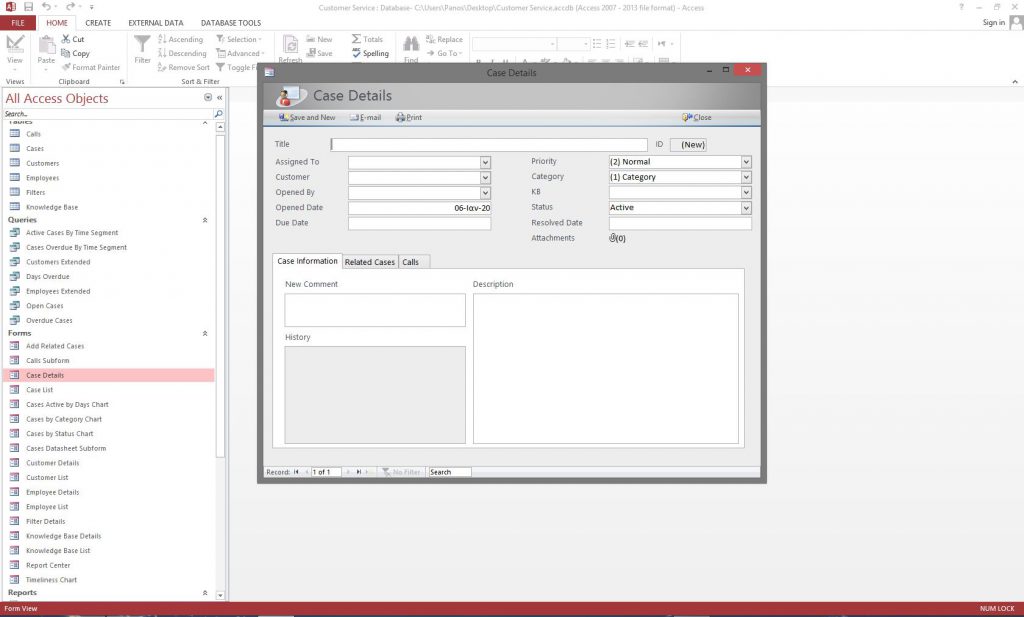
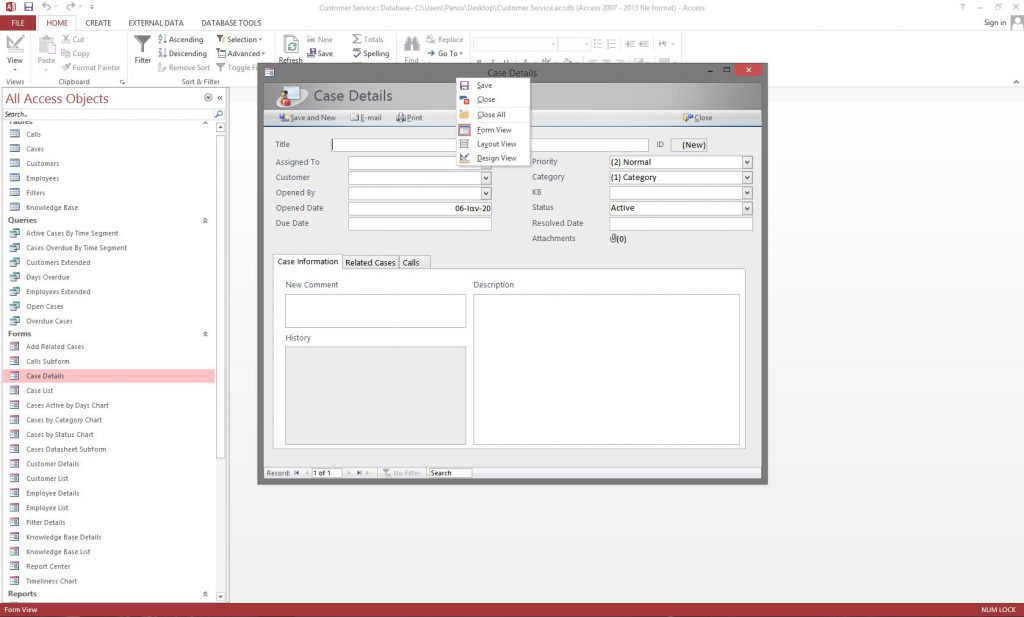
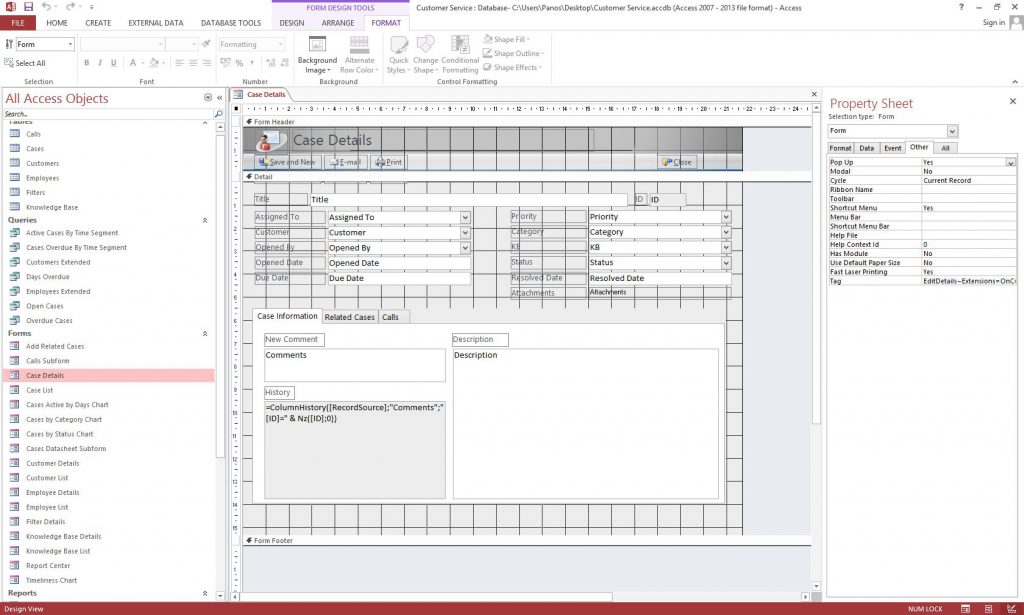
In “Forms” on the left window, double click “Case Details.” The form will appear with all its elements (text boxes, dropdown lists, buttons, etc.). If you right click on the top of the window, you can choose either “Design View” (to add or change form elements) or “Layout View” to make changes to the visual aspects of the form (element size and or position).

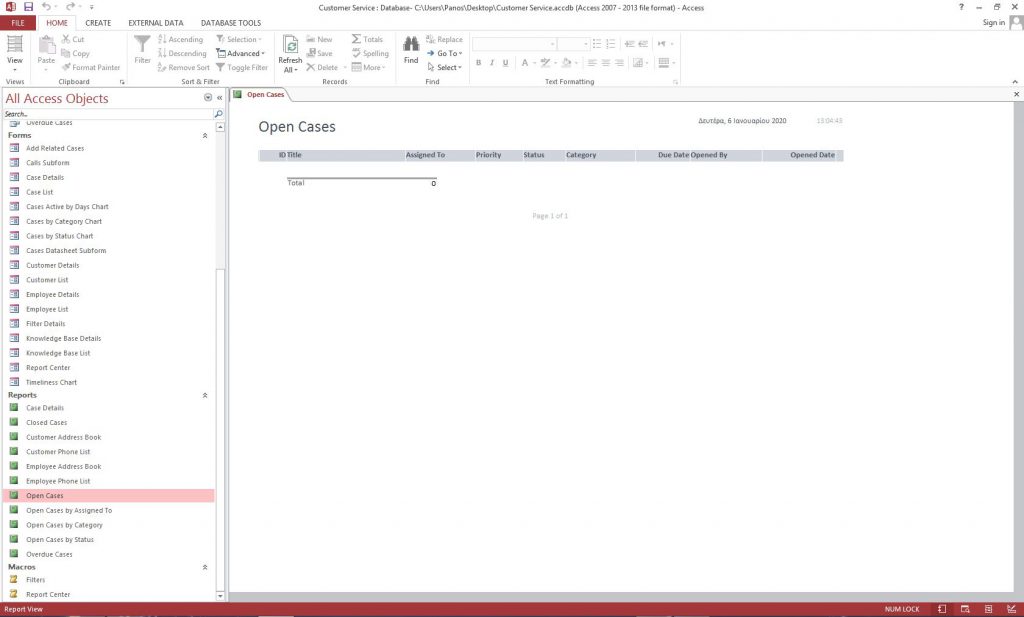
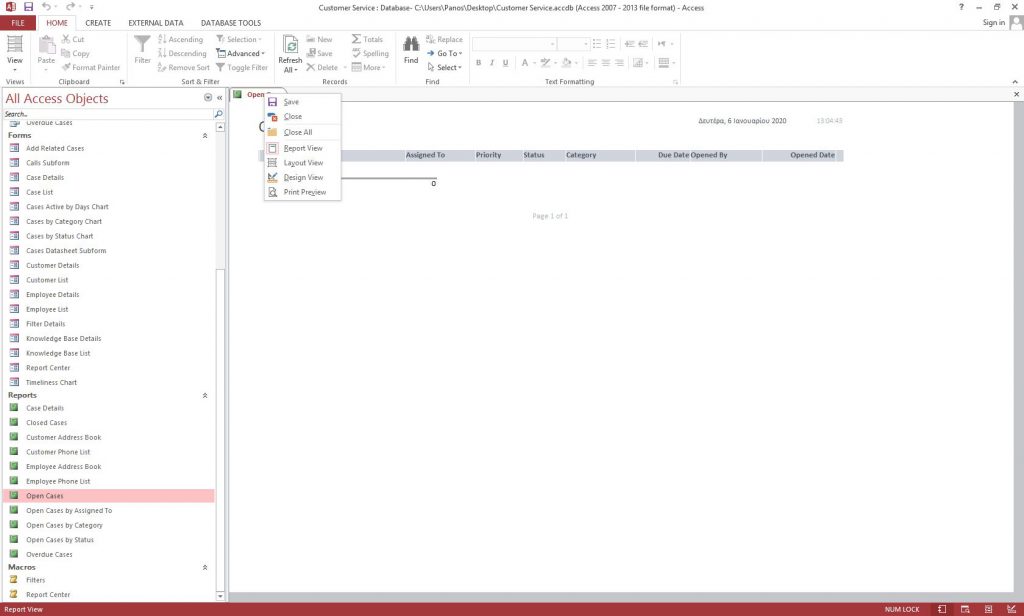
Next, double click on “Open Cases” under “Reports.” No data are shown for the same reasons I have mentioned before. Right click to the tab with the report name, and you will see the same menu as before. Both the design and layout views work similarly with those of the Forms menu.
In this two-part article, I have shown you only the basics of databases and MS Access RDBMS. There many more topics that I am going to introduce you to in my following articles about databases.