Batch Image Conversion Using IrfanView

In our present-day modern digital world, everybody has a fair number of photos on their computers or mobile devices. There are times when we want to make the same changes (reduce the image size, for example) to a lot of pictures but find it tedious to repeat the same process for every picture separately, as it would be time consuming.
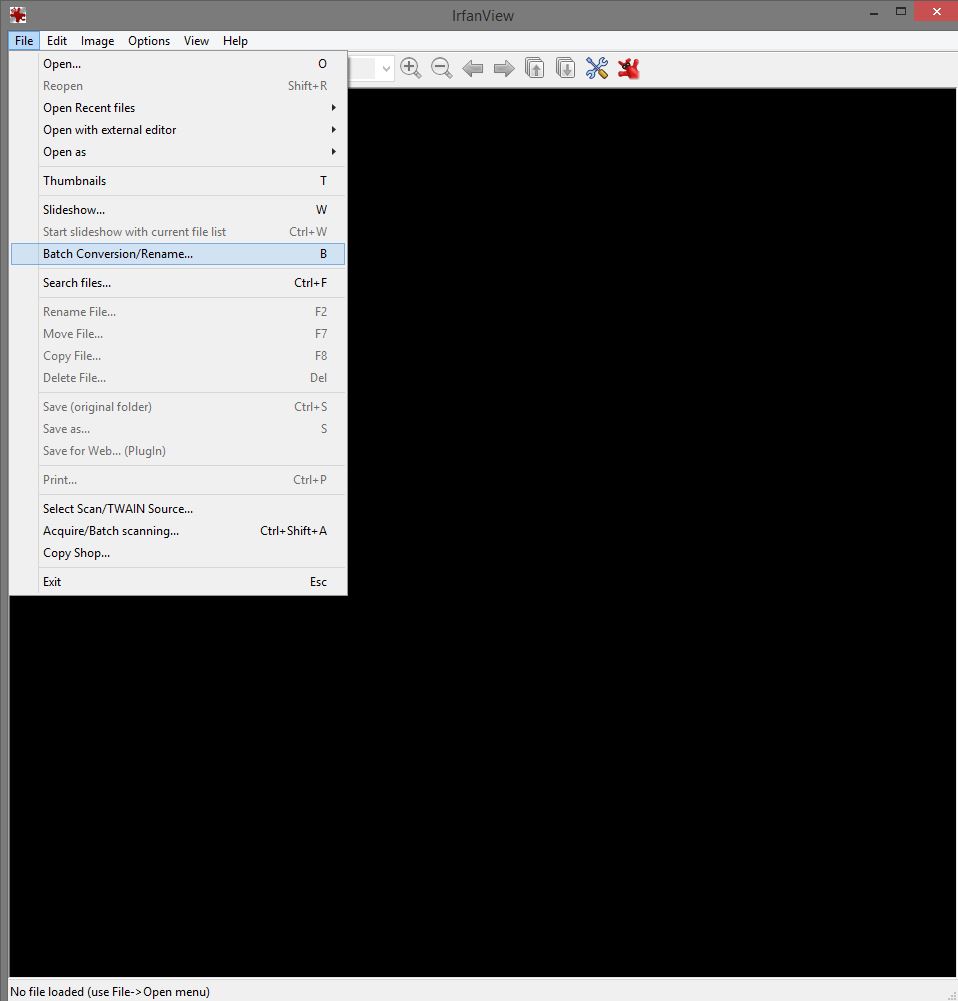
This is where IrfanView—a popular image viewer—comes into play, in helping us deal with this situation. IrfanView comes with a batch conversion feature that allows us to make some changes easily and fast. Run Irfanview and then go to “File –> Batch Conversion/Rename” to open the main conversion window.
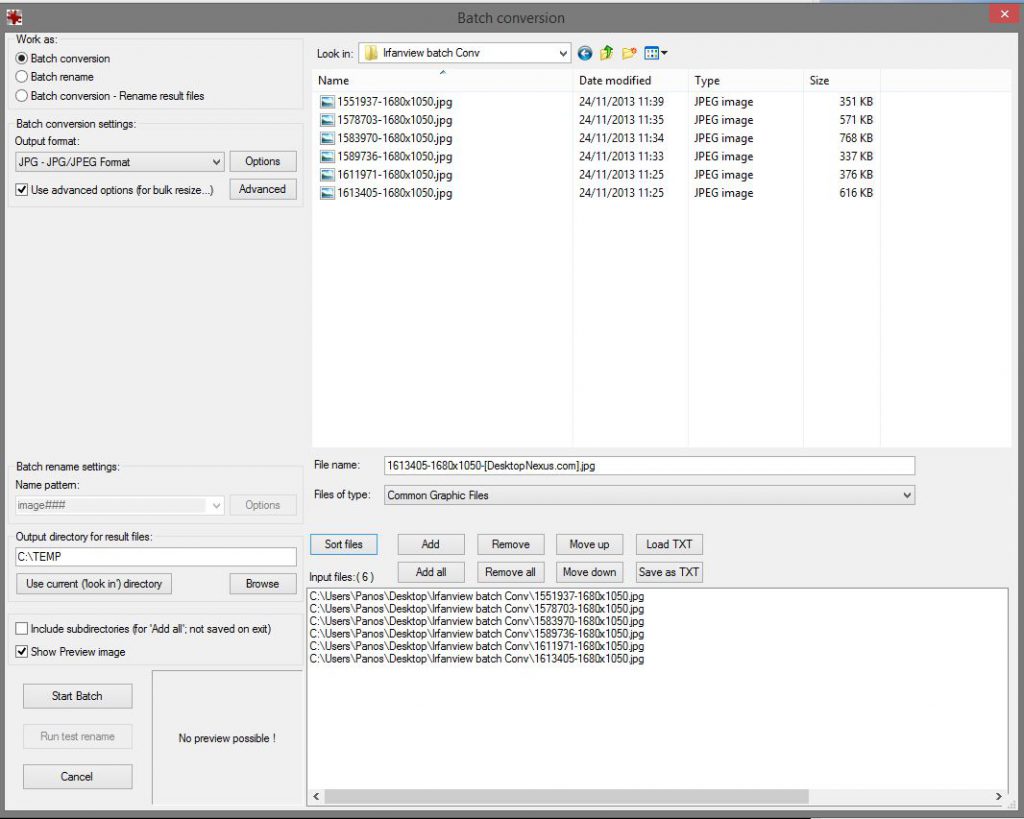
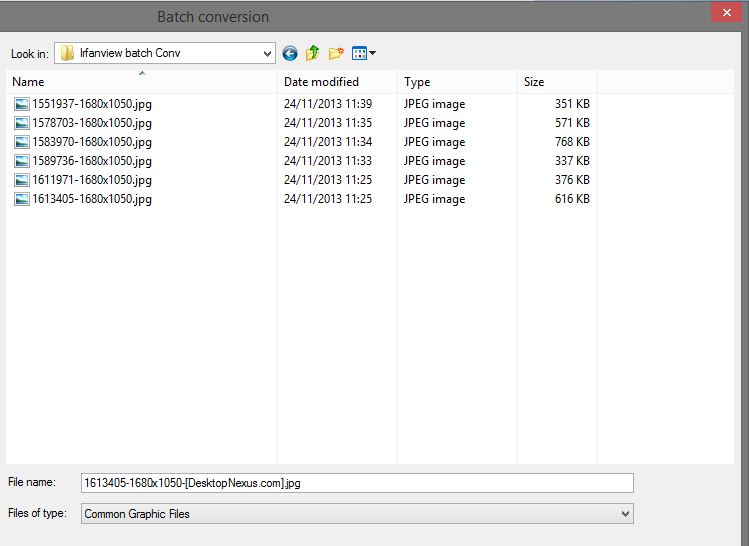
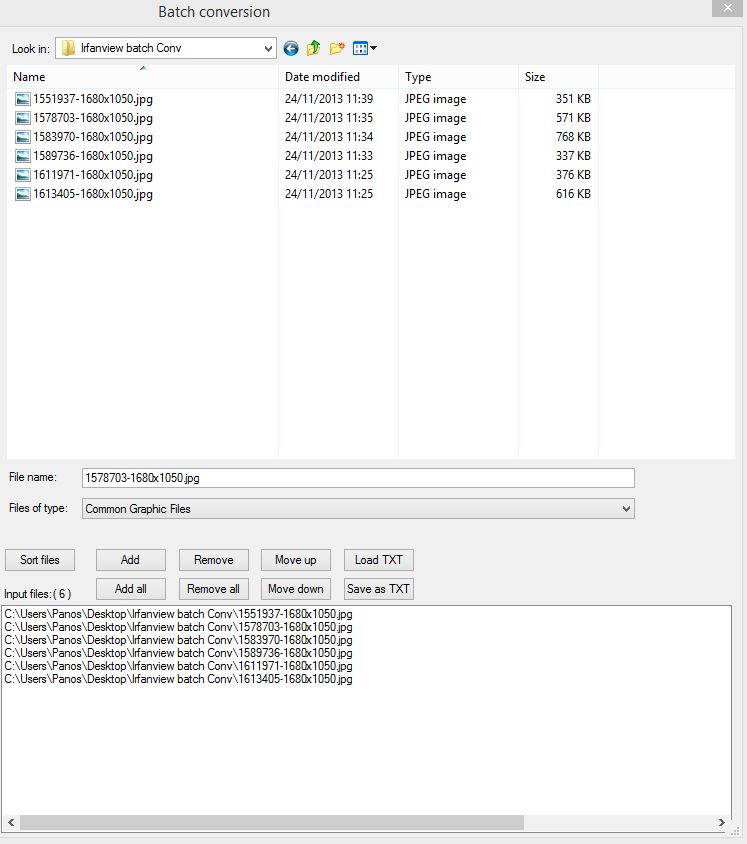
At the top of the window, there is a file explorer. Navigate to the folder where the pictures you want to convert are located.
Now, just below this window, there is another one with nine buttons above it. Every change you decide to make to your pics will be applied only to those files that are displayed in this window. If you want to make changes to all the images from the file explorer window (in the current folder), just click on the “Add All” button. Immediately all your chosen files will appear in the window at the bottom. If you need only some of these pictures, select them from the top explorer window (using CTRL or SHIFT key) and then click on “Add.”
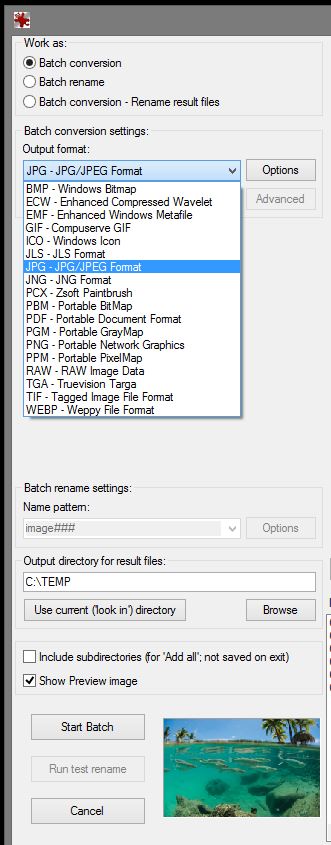
Let us now see what changes you can make. You can select whether you want to rename your files (using a specific pattern) or convert them or both. You can transform your photos from their current file format (jpg in this example) to a variety of other formats that you can see on clicking the dropdown list under the label “Output Format”.
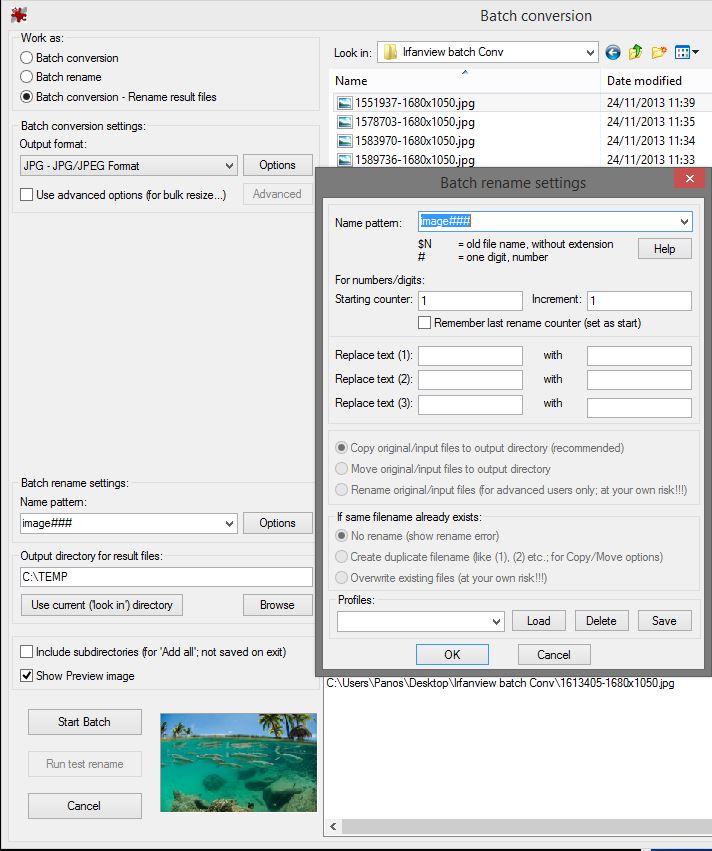
If you decide to rename your files, you can do it by pressing the button “Options” and proceeding with the appropriate configuration.
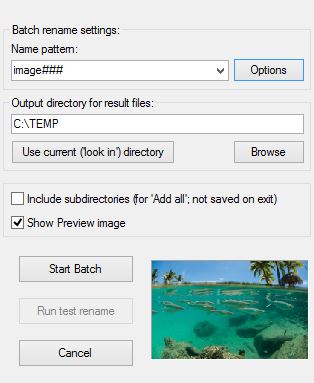
You can also select the folder where the newly converted / renamed images will be stored after the whole process is complete. If you click on “Start Batch,” the new pictures with the selected changes will be created.
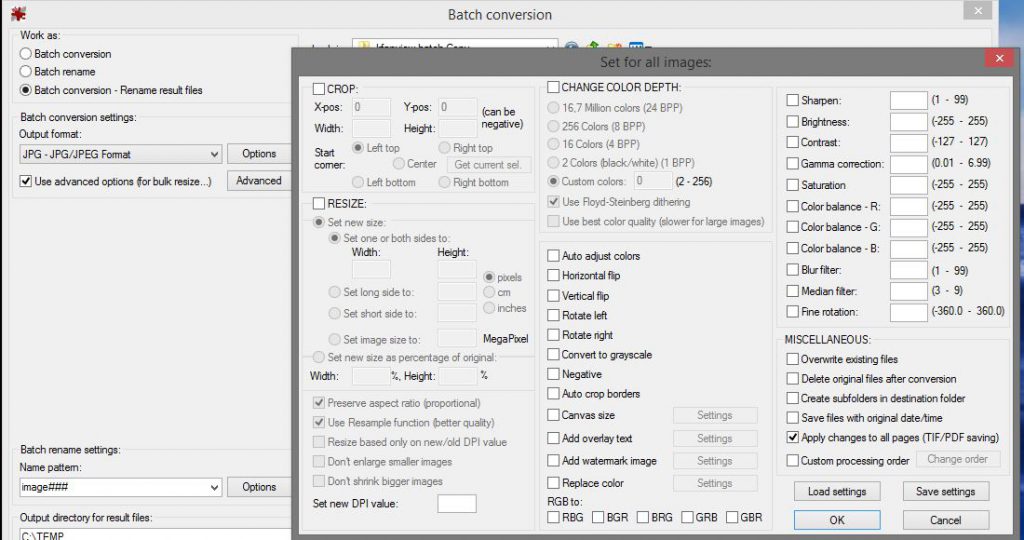
But wait! Where are all the other options to transform your photos? Well, if you activate the checkbox “Use Advanced Options” and then press the button “Advanced,” you will see the true power of image transformation that IrfanView possesses. Cropping and resizing, brightness, contrast, and many more—make your choice and press “OK.”
Once you press the start (“Start Batch”) button, a new popup window will appear and inform you about the operation’s success for every single picture.

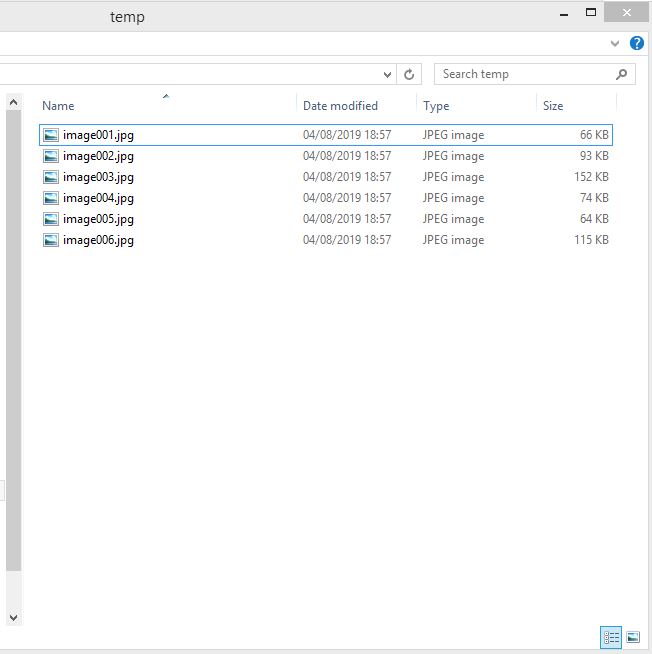
Press “Exit Batch” if you are finished converting and then go to the output folder (C:\Temp for this example) where you will find your pictures.
IrfanView gives you the opportunity to make changes to your pictures with just a few clicks. You can download the application and the plug-ins from the official site by clicking here.