Installing Hyper-V on Windows Server
Hyper-V is one of the most popular type-1 hypervisors currently in the market and it comes in two “flavors”: The free Hyper-V Server and the Hyper-V Role on a Windows Server installation.
If you are not familiar with hypervisors and virtualization, you can read my article on them by clicking here.
In this article, we will discuss the installation of the Hyper-V Role on a Windows Server machine. A common misconception is that this type of installation creates a type-2 hypervisor, but that’s not the case—it remains a bare metal (type-1) hypervisor. You can read more about this subject by clicking here.
I will use Windows Server 2019 for the whole process, but the steps are similar or identical in most versions of Microsoft’s server products.
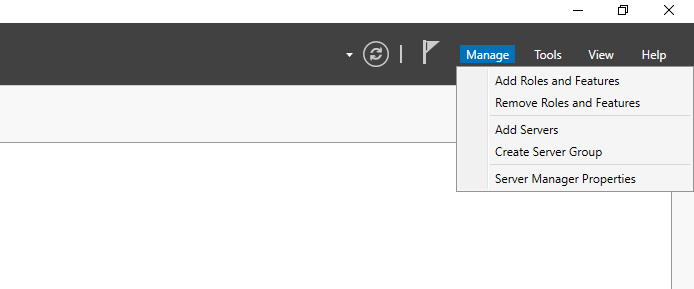
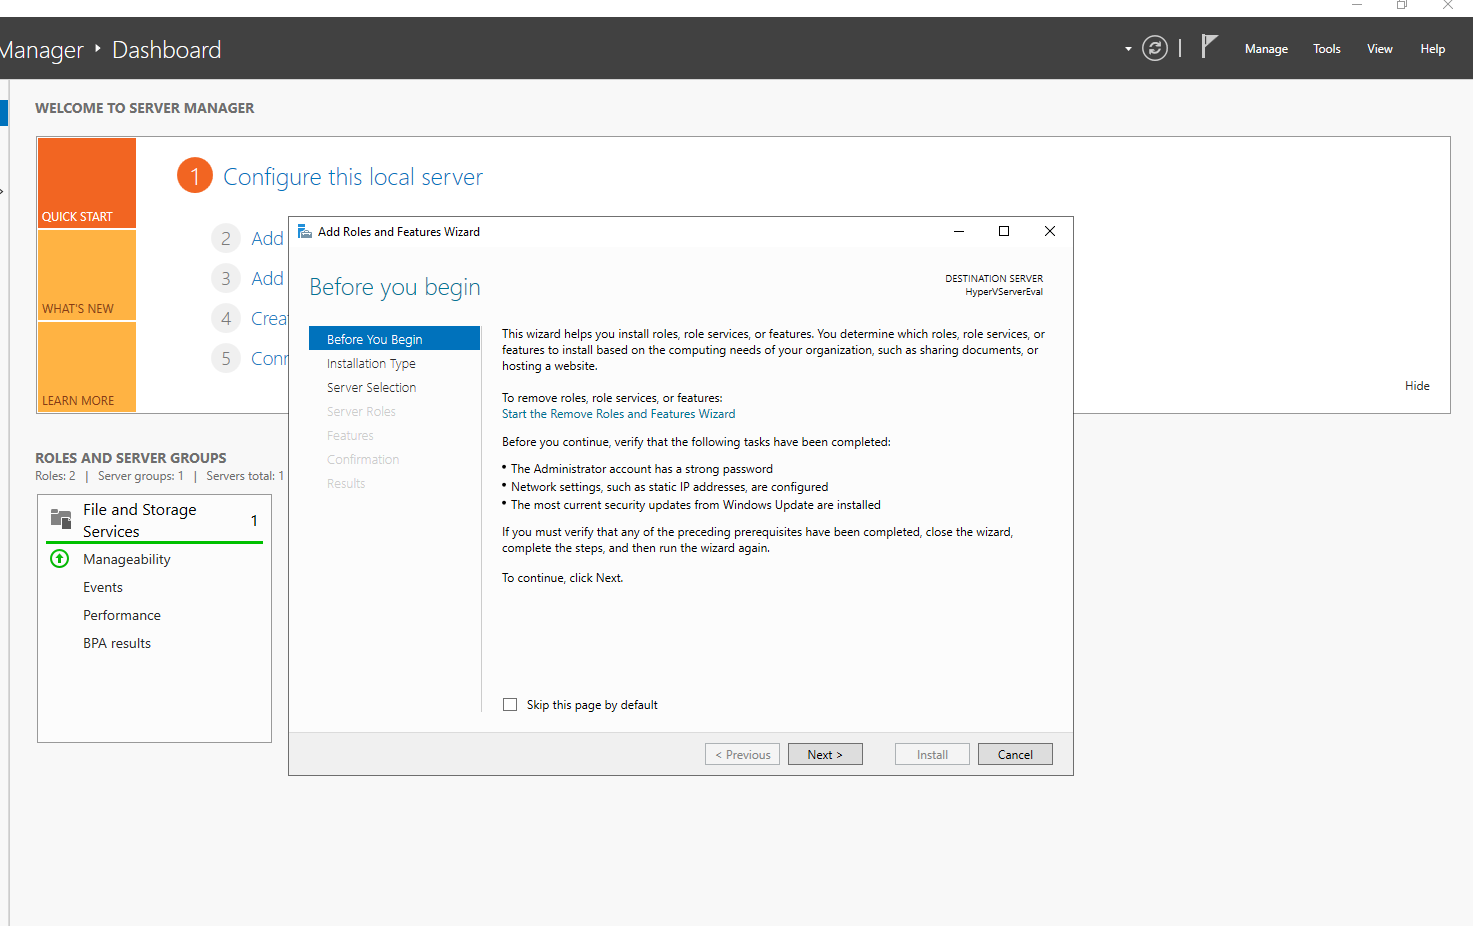
Let’s begin. On Server Manager, go to the top-right corner and click Manage->Add Roles and Features.
A new window will open. Press Next.
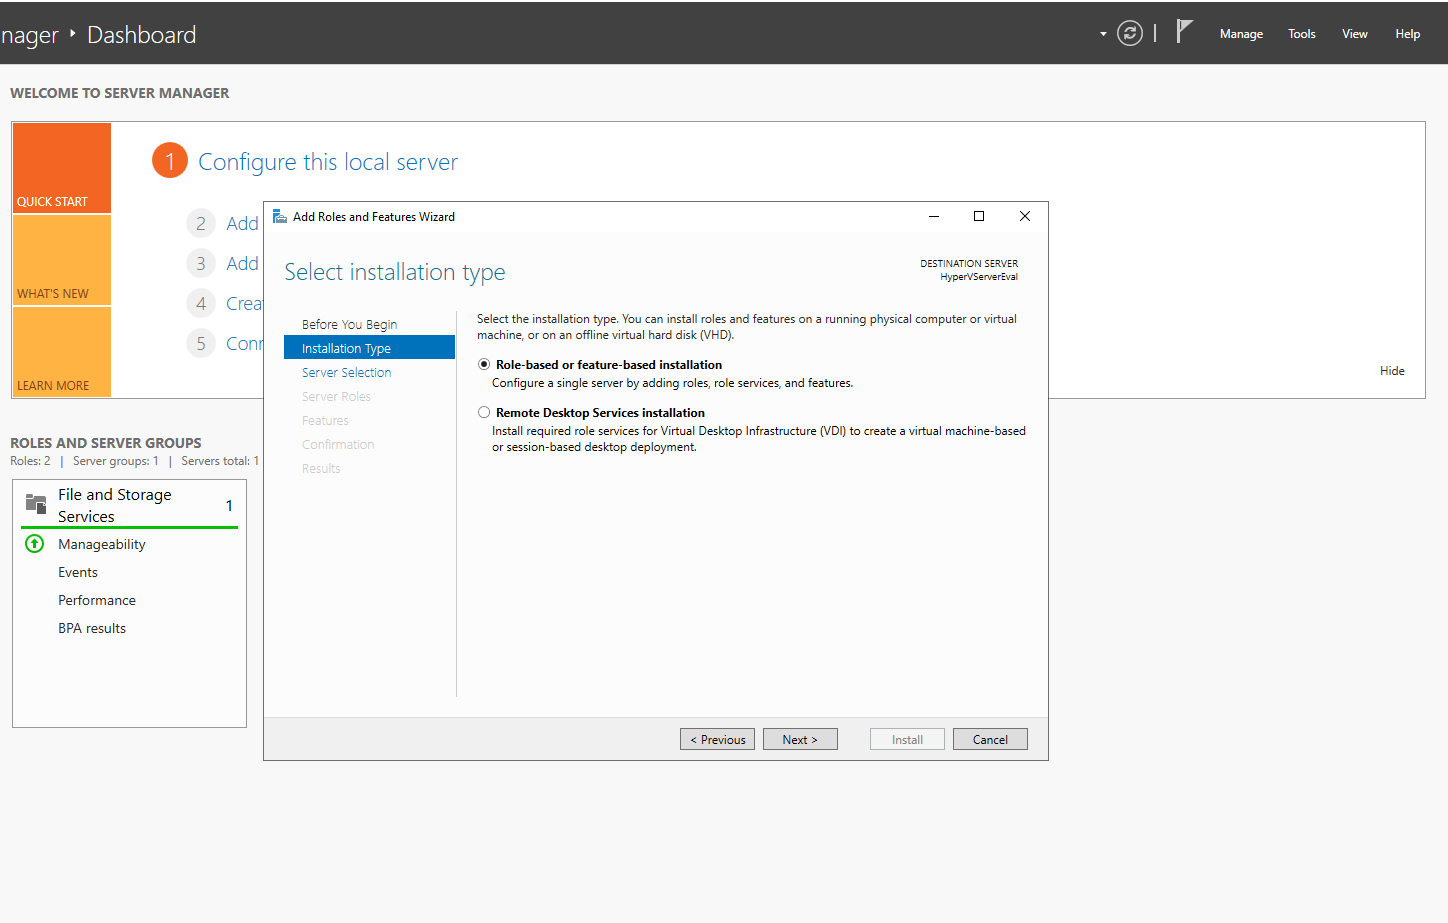
Select role-based or feature-based installation if it’s not already selected. Press Next.
If you have multiple servers, first choose the one you want for the role to be installed. Otherwise, just press Next.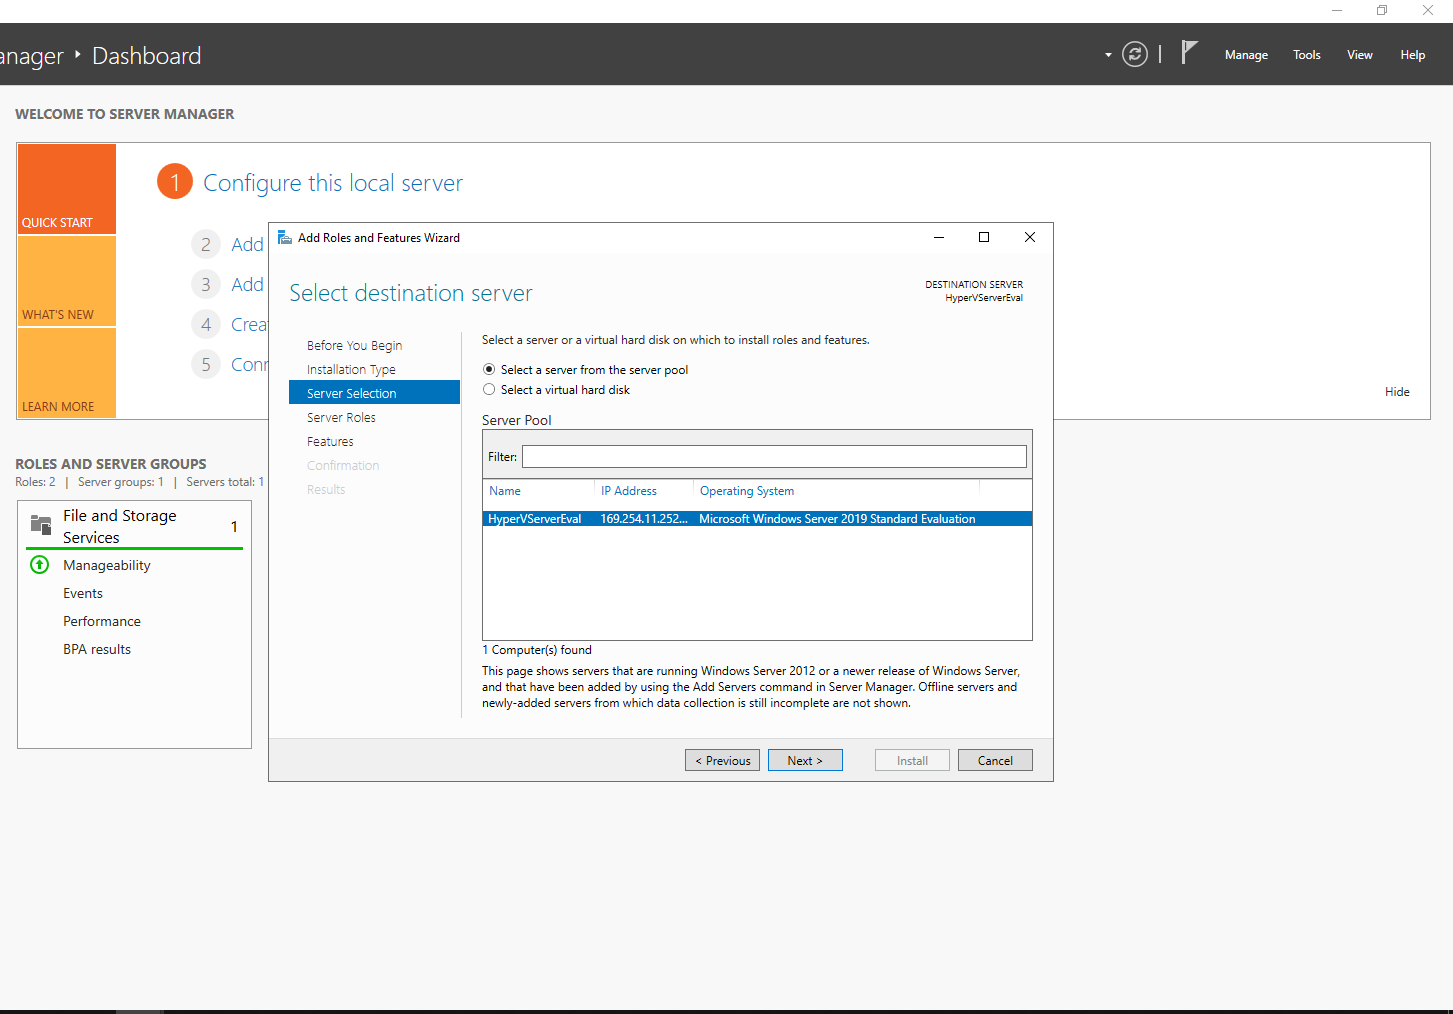
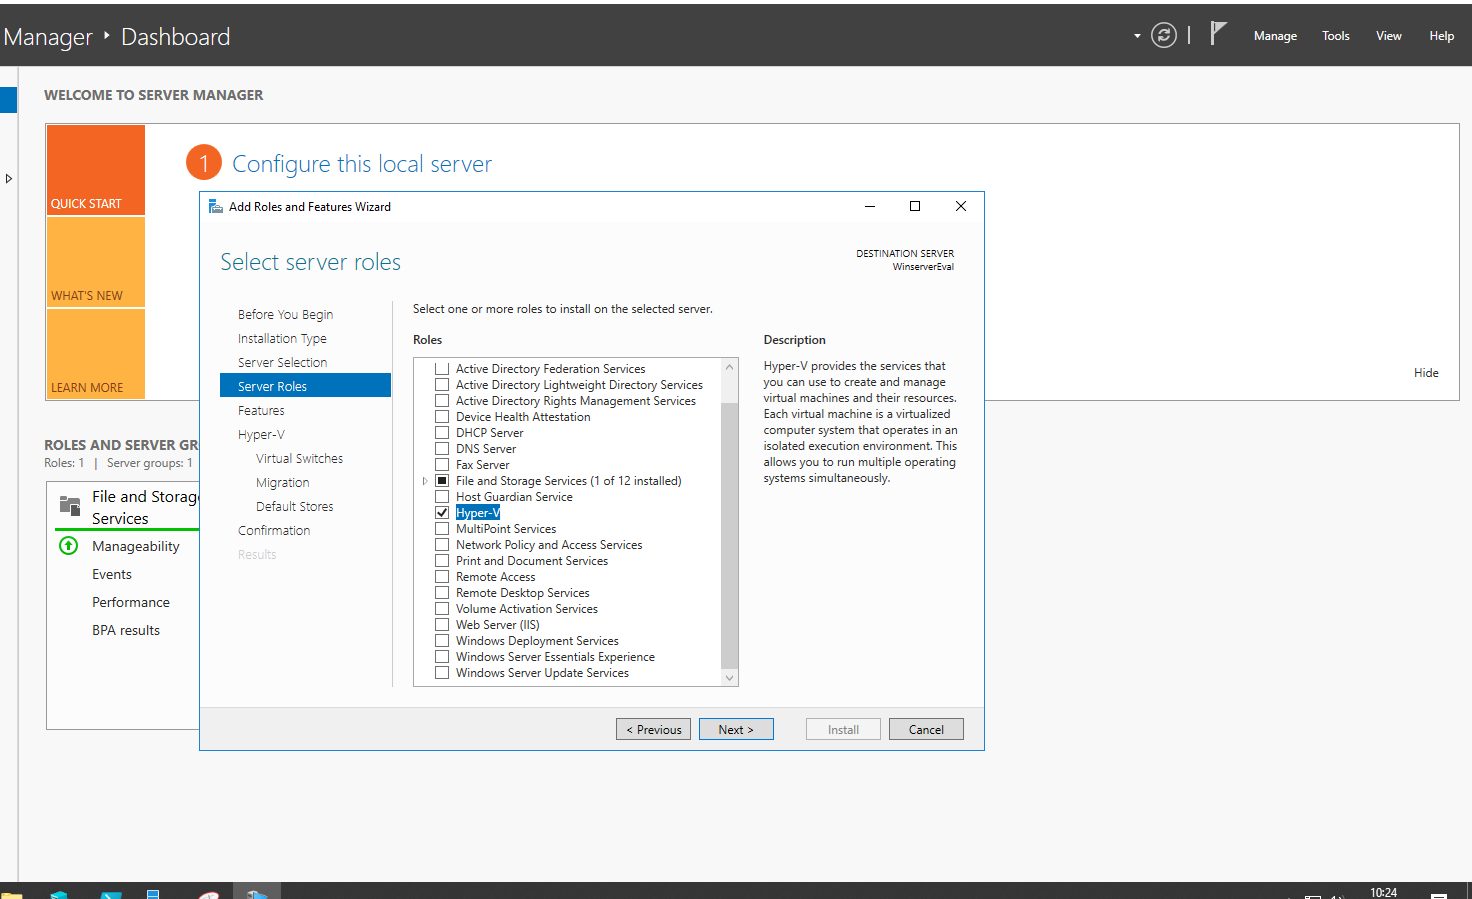
A list with all the available roles will pop up. Select Hyper-V.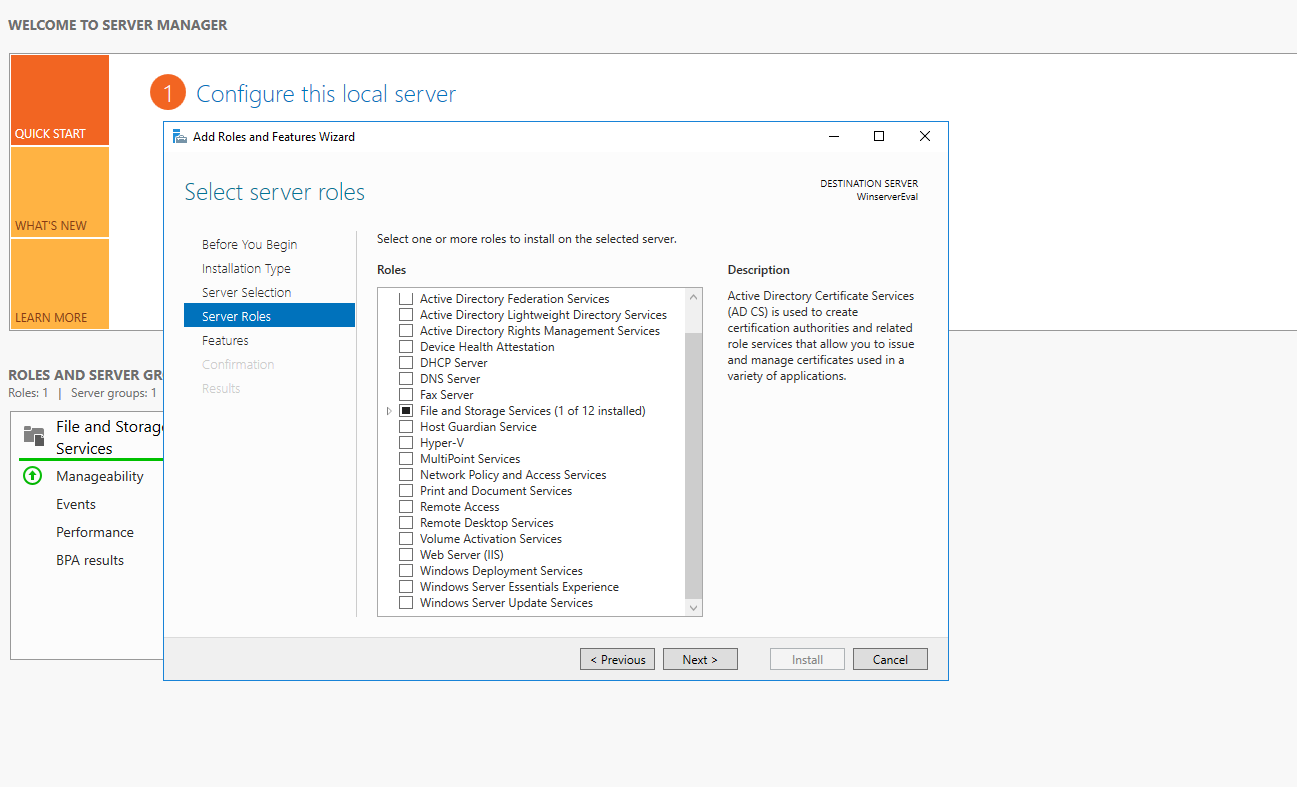
A new window will open informing you about the features required for the specific role to operate properly. Press Add Features.
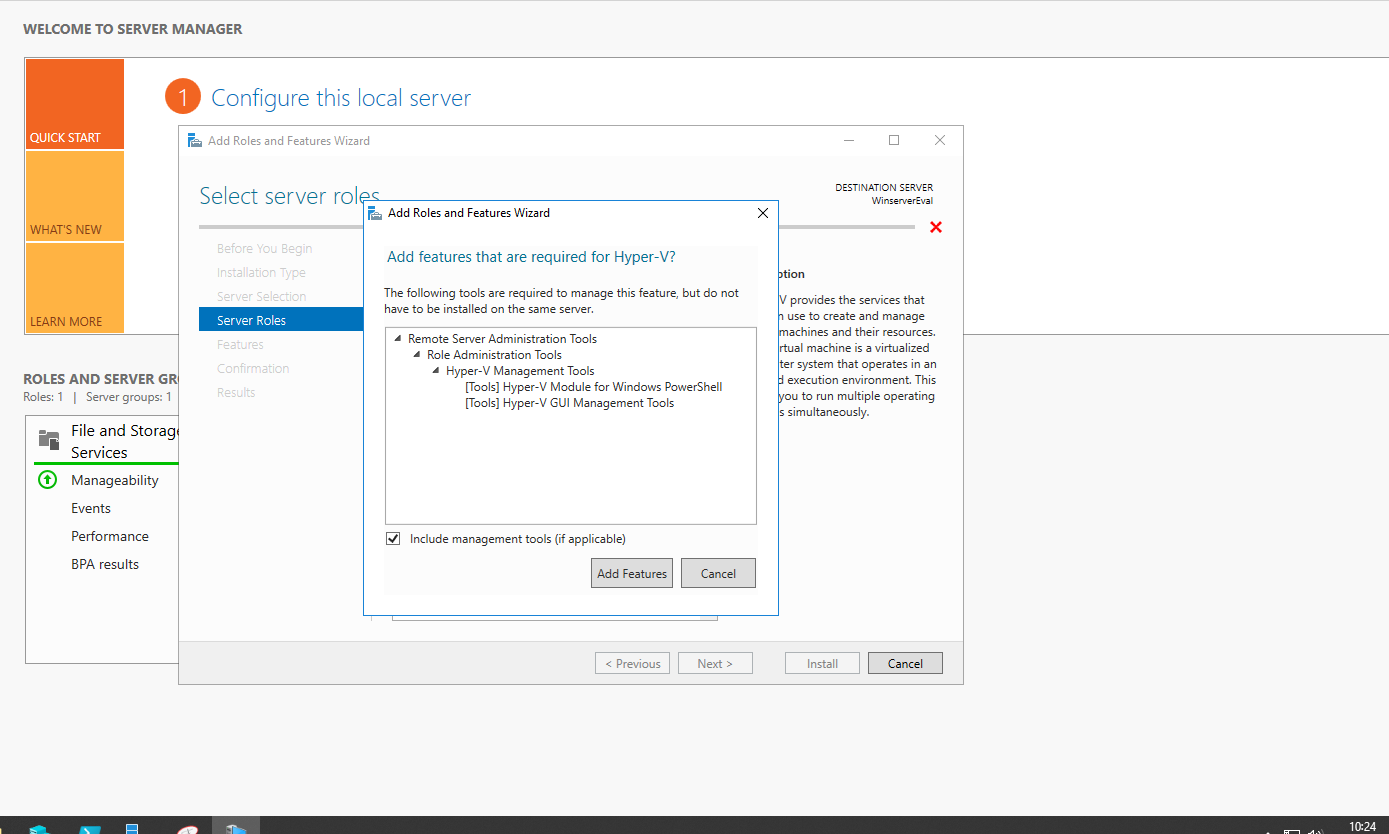
The window will close and the checkbox on the left of Hyper-V role will be enabled. Press Next.
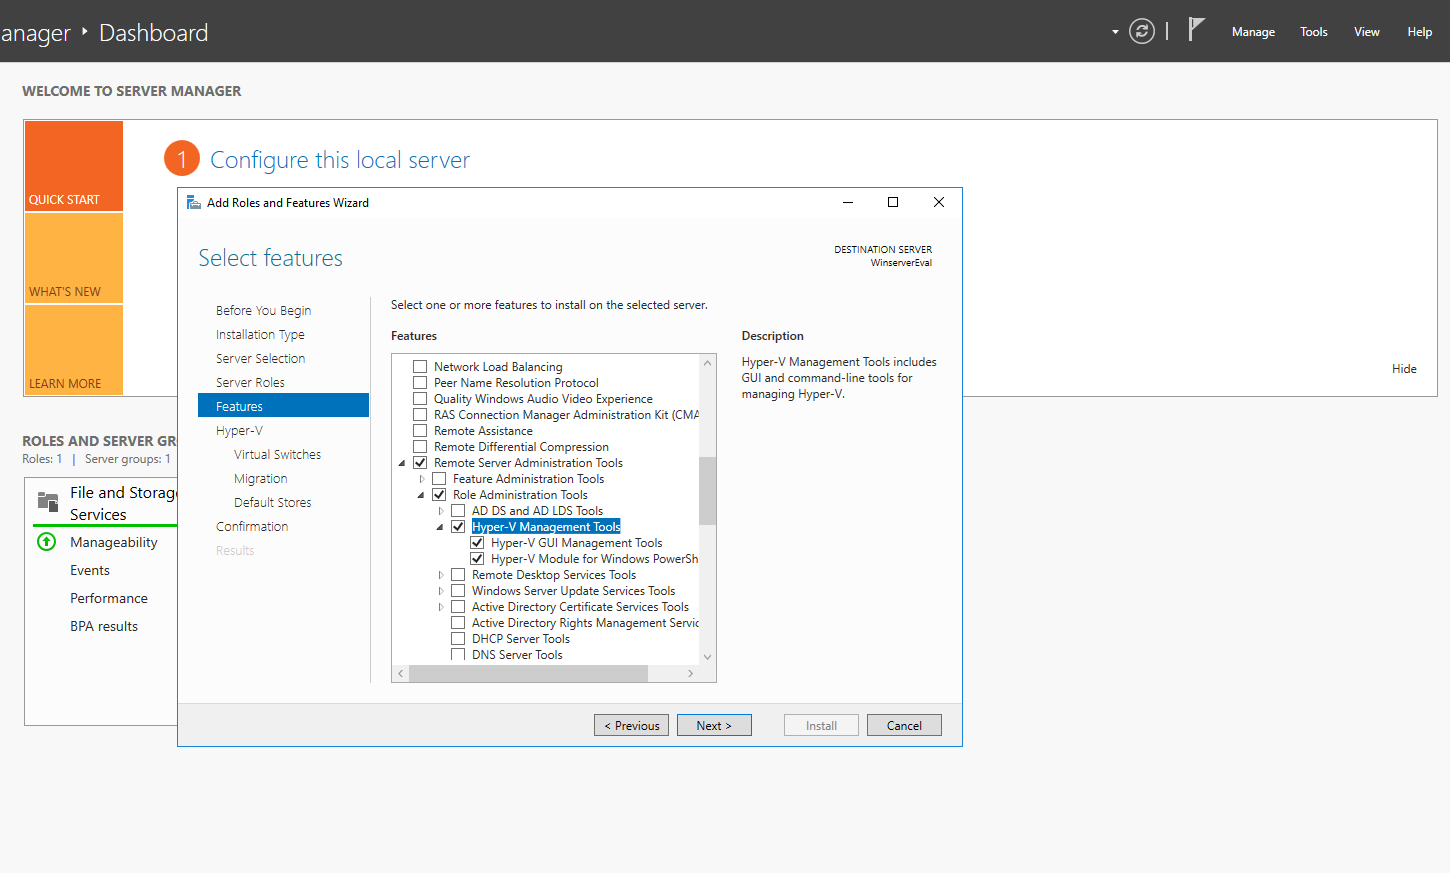
The required features for the role are already installed (from the previous step), so just press Next.
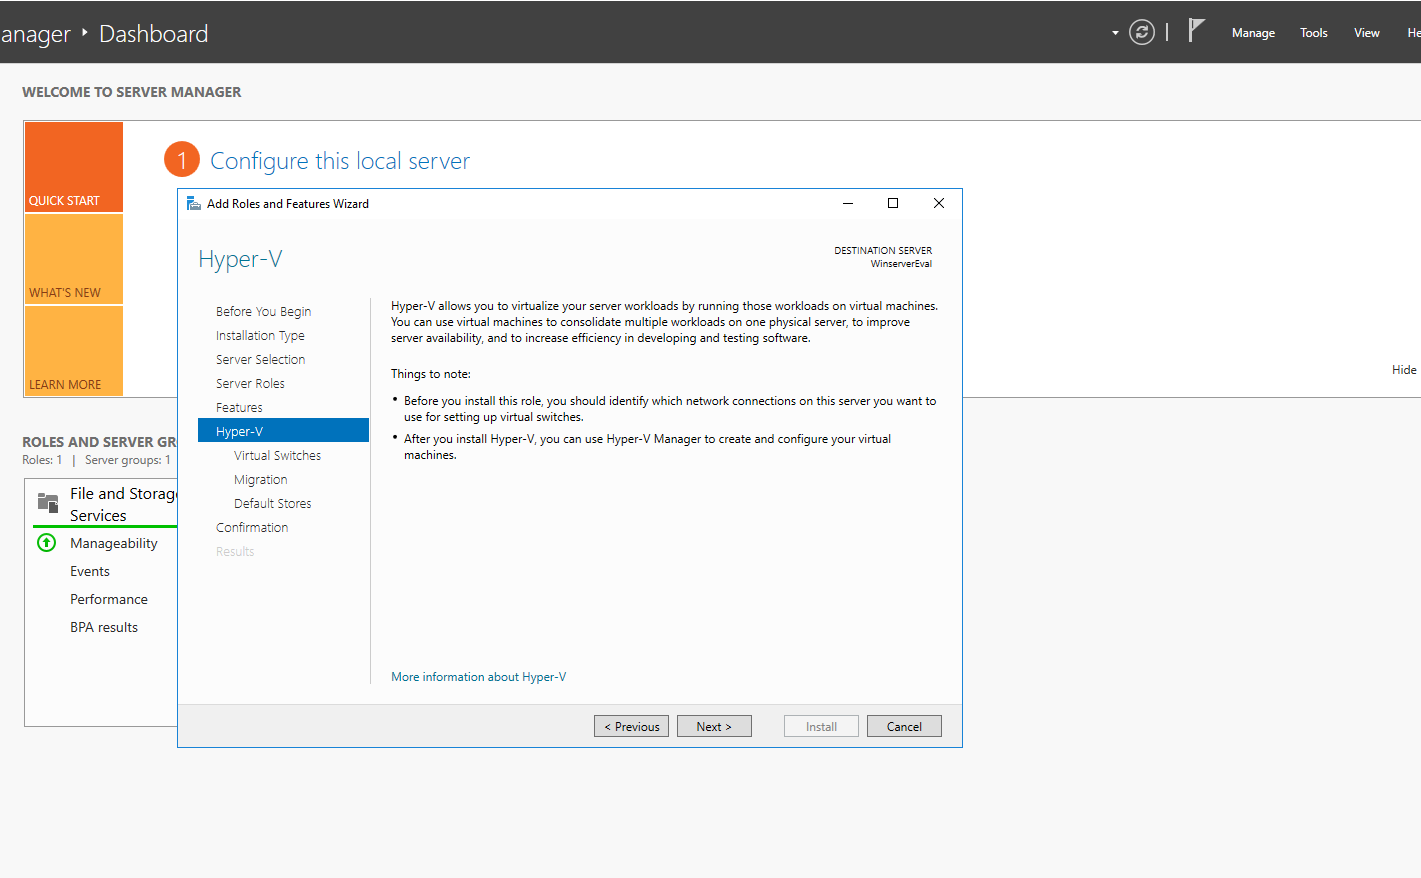
Once again, press Next.
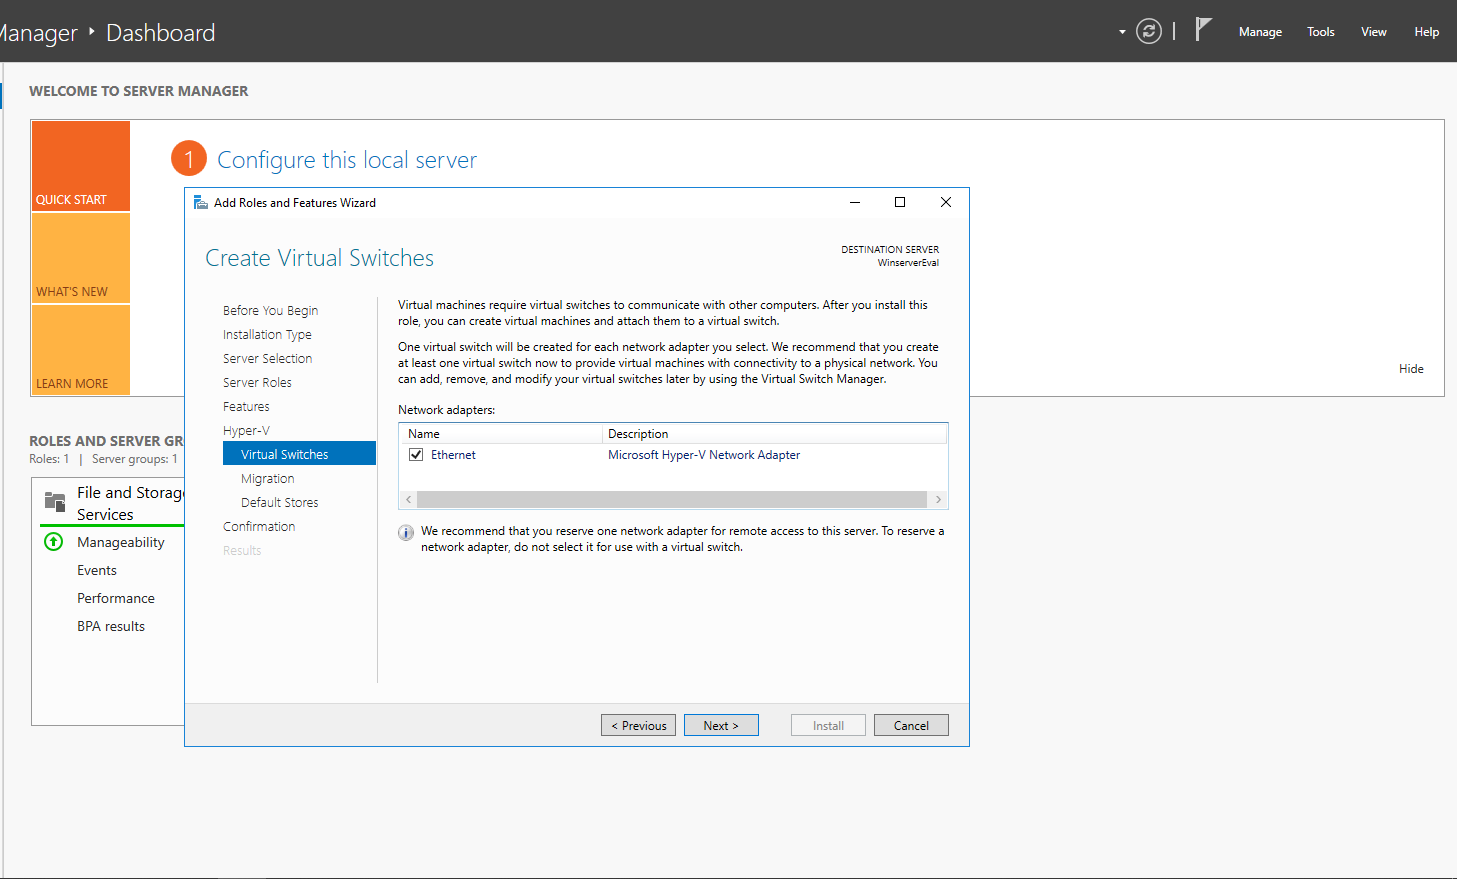
Now, select at least one network card for your virtual switch and afterward press Next.
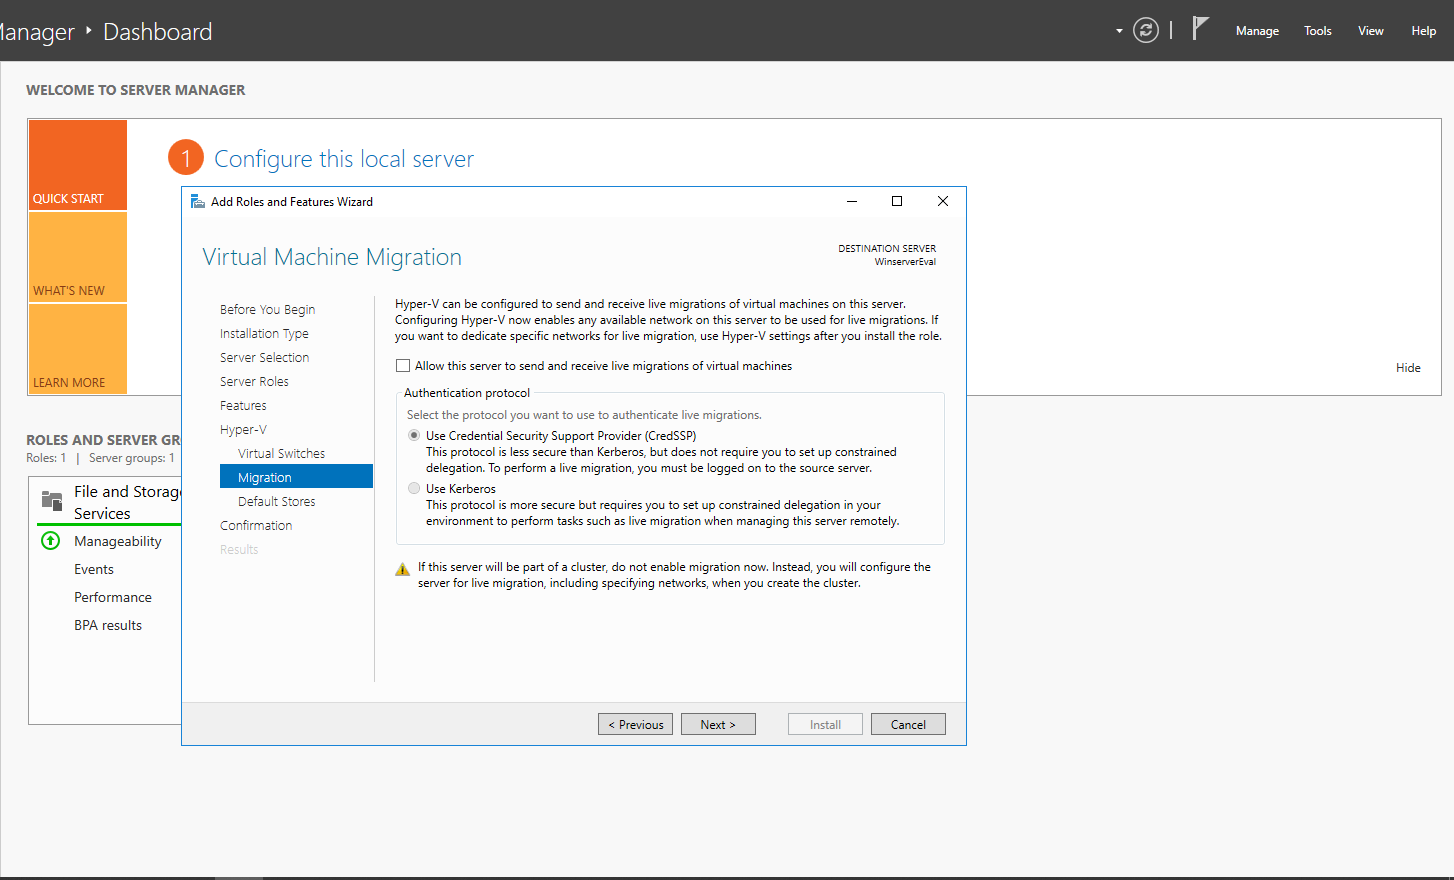
Again, press Next. If you decide to use live migration with or without a cluster, you can configure it when you need it.
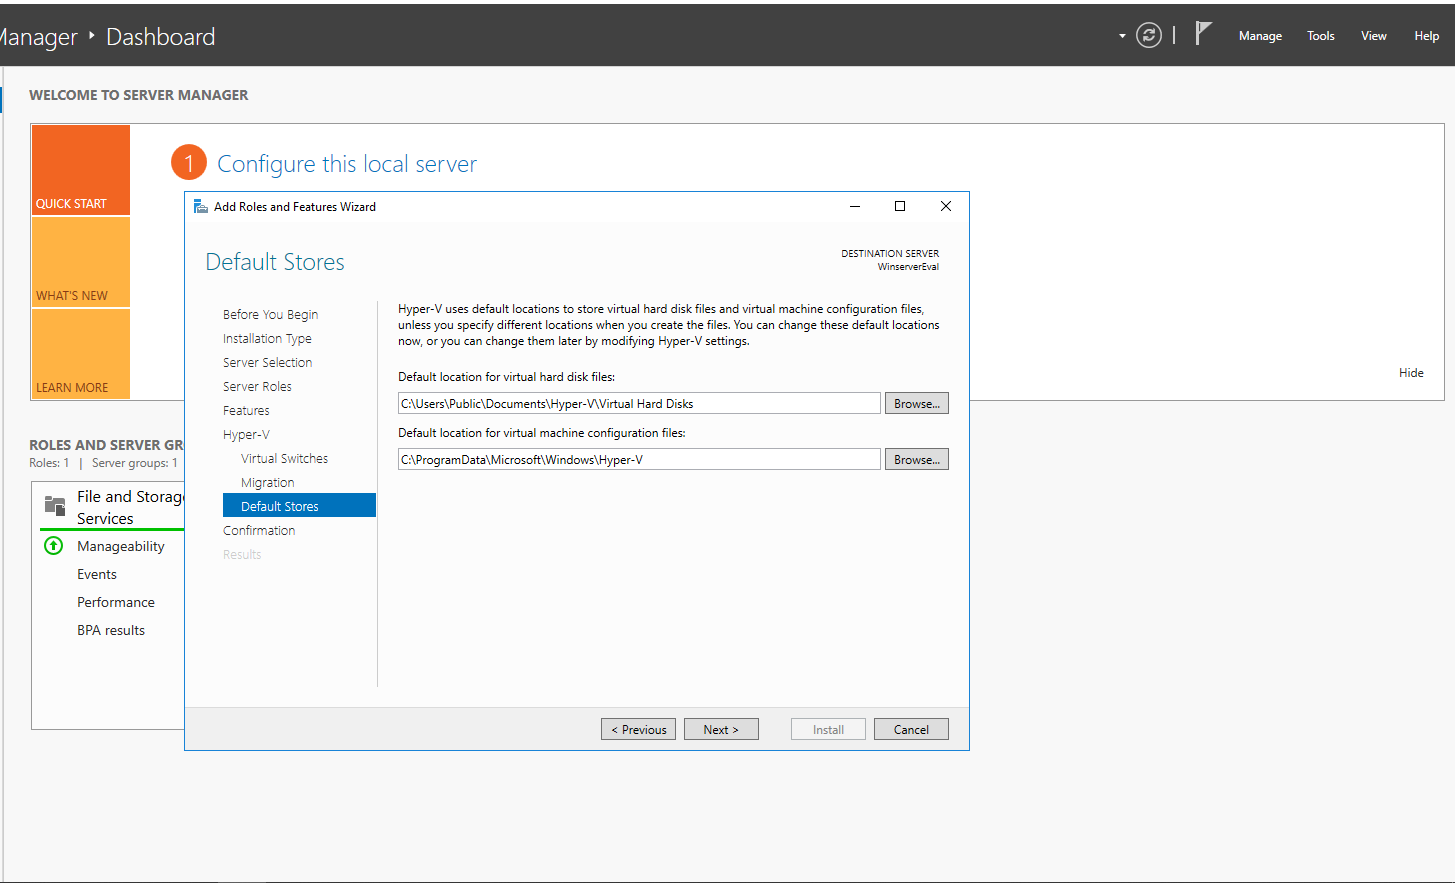
Choose the paths for the virtual machine configuration files and virtual hard disks and press Next.
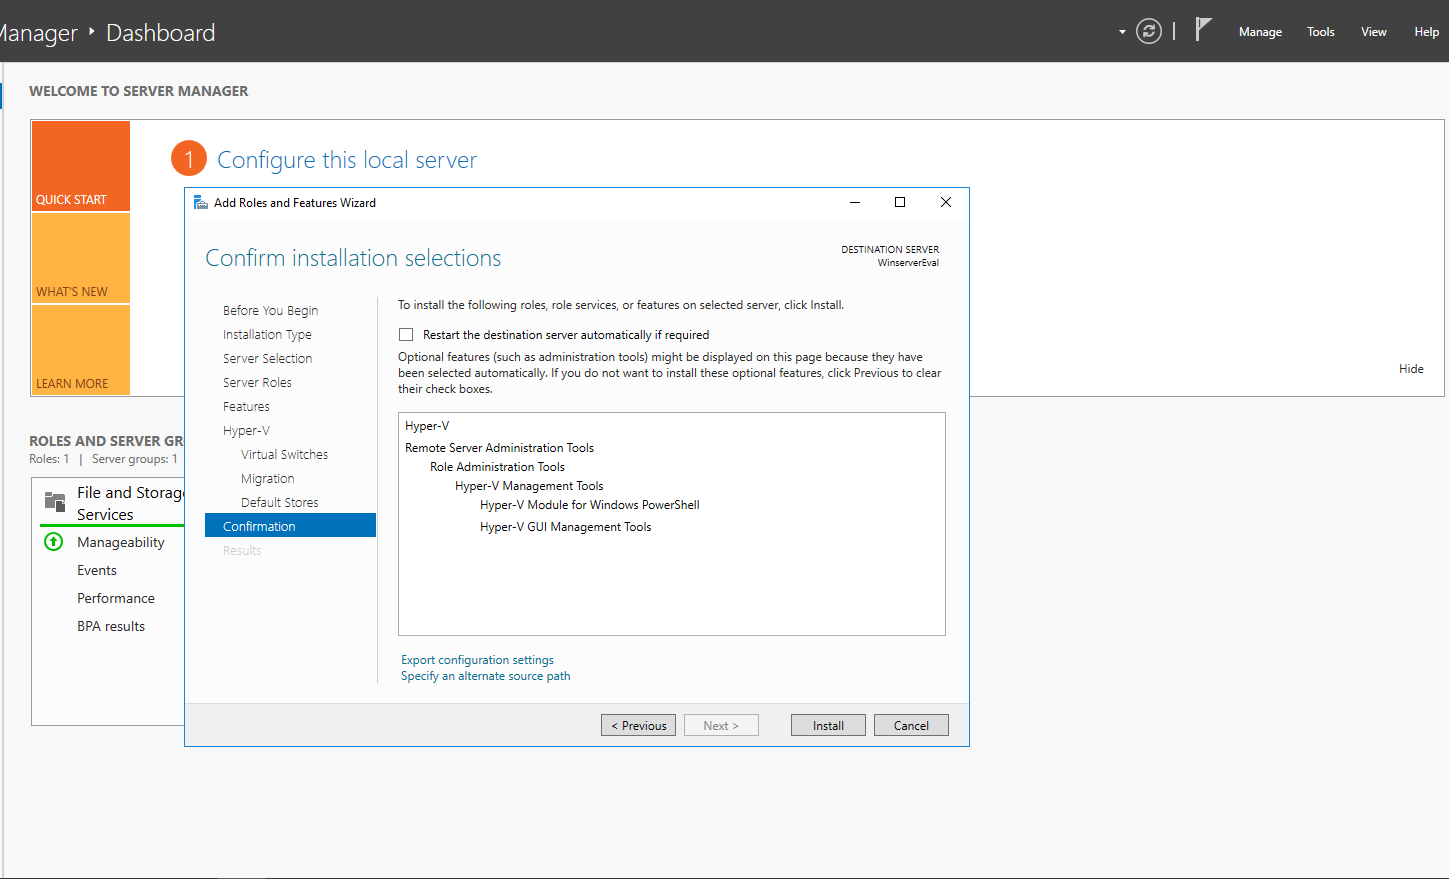
Now, if you want the server to restart automatically after the Hyper-V installation, select the corresponding checkbox. Press Install.
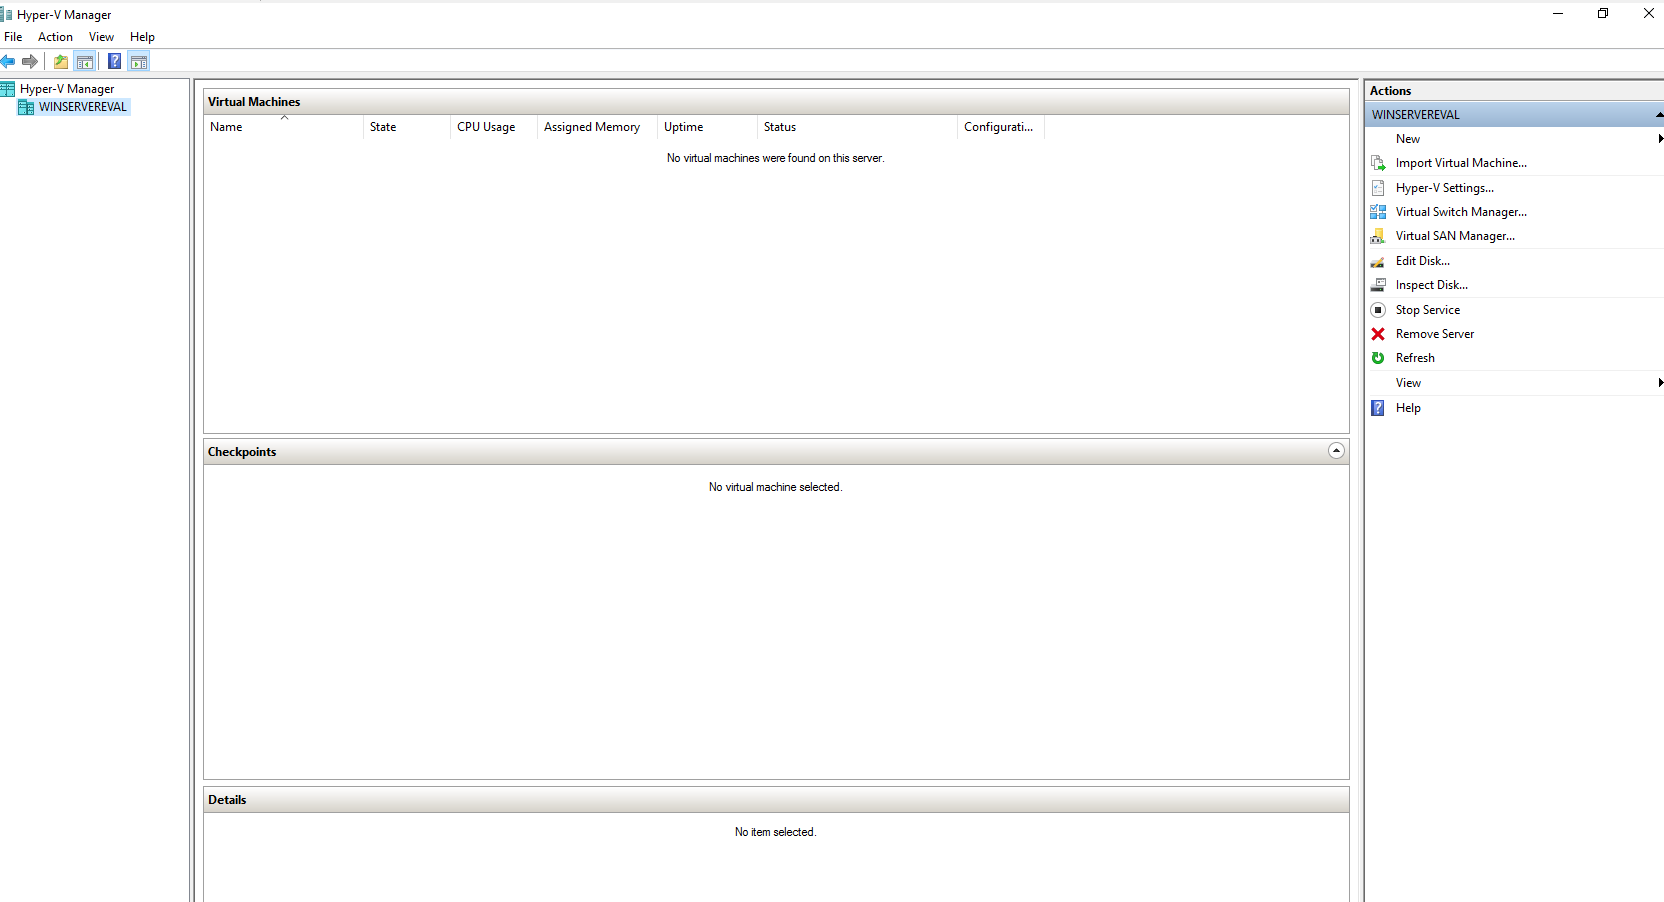
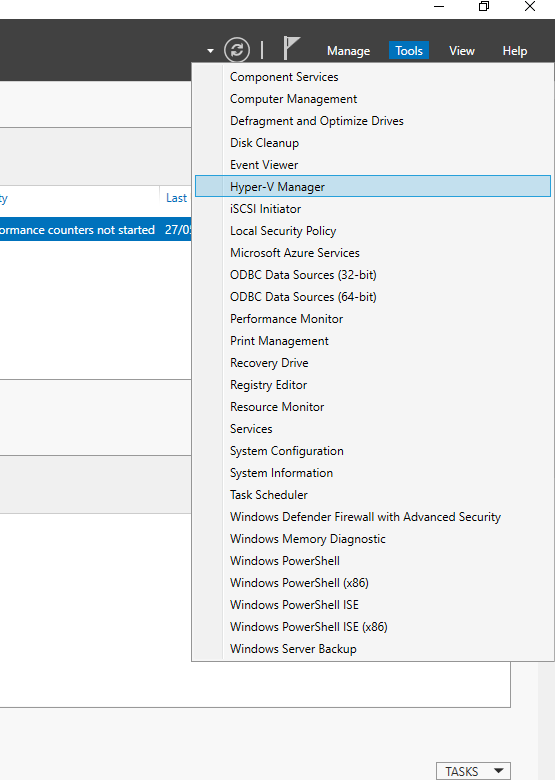
After the installation, you can access the Hyper-V Manager console from Tools->Hyper-V Manager.
Here, you can create and manage all your virtual machines.